Homemade Chocolate Truffle Cake Recipe
This post may contain affiliate links (disclosure).
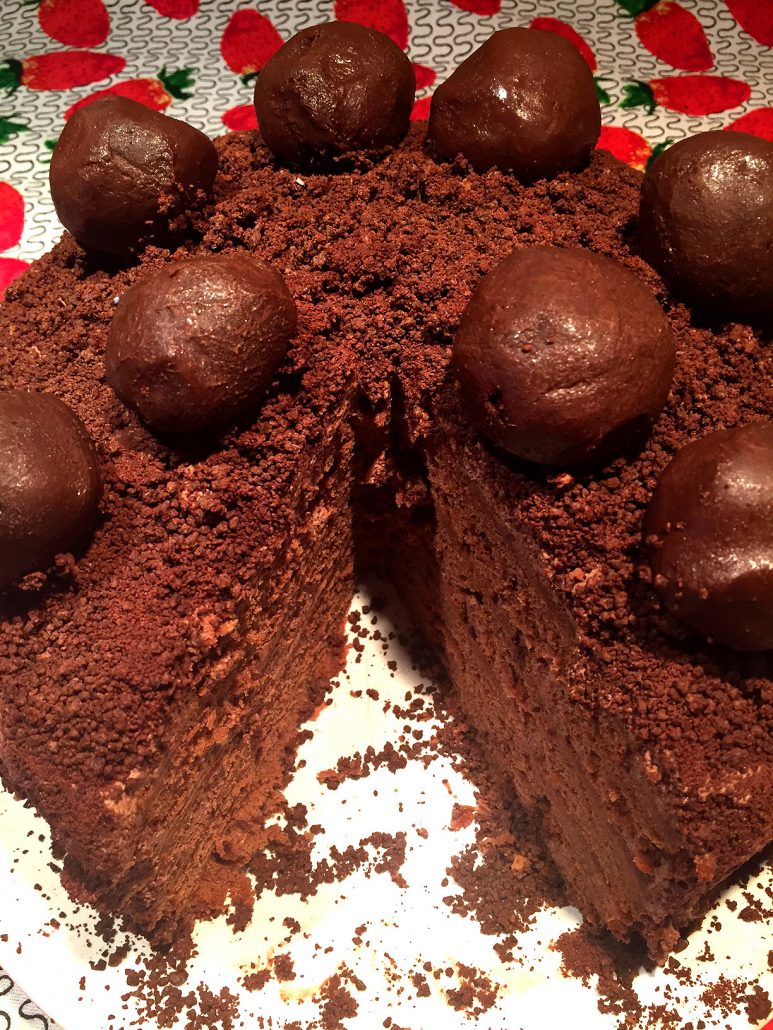
This Homemade Chocolate Truffle Cake is the ultimate indulgence for chocolate lovers! With its moist chocolate layers, rich ganache frosting, and luxurious truffle topping, it’s a dessert that dazzles at any celebration. Whether you’re treating your family, hosting a party, or just indulging in a little self-care, this cake will become your new favorite chocolate fix.
BITE into this amazing chocolate truffle cake. FIGHT over who gets the most truffles. COVER yourself with the chocolate crumbs. Just GIVE IN to this epic chocolate truffle cake, DEVOUR it like a pig. It’s so worth it.
Want to save this recipe?
Why You’ll Love Homemade Chocolate Truffle Cake
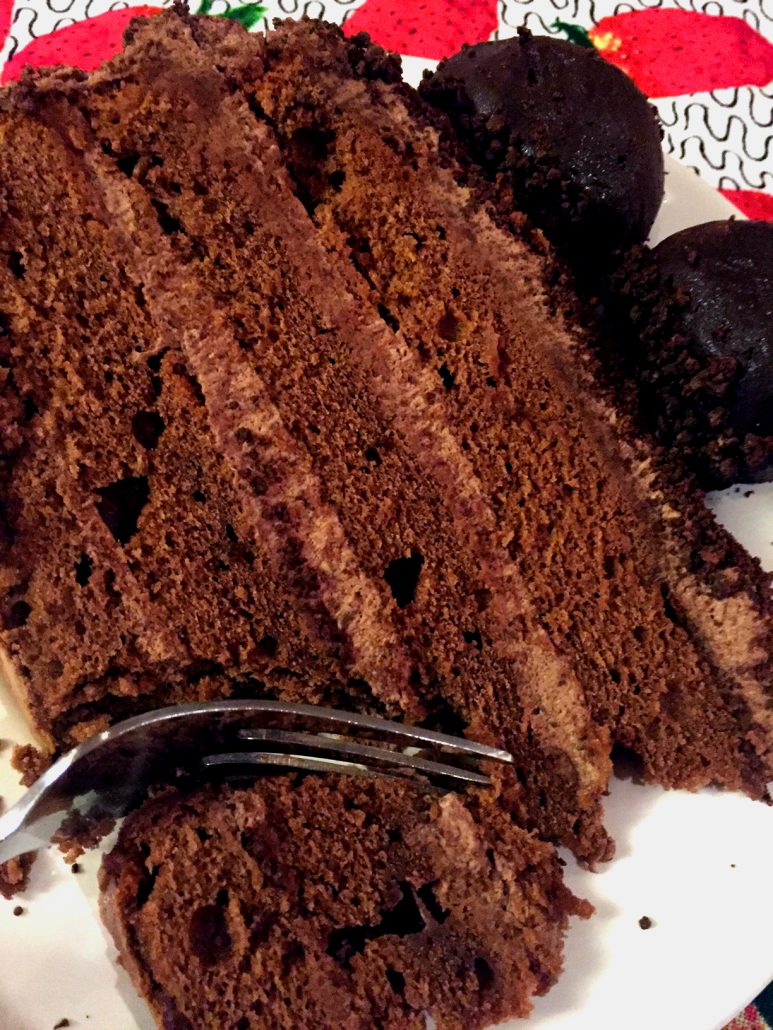
- Decadent Flavor Explosion: Each bite is a heavenly blend of moist chocolate cake, silky ganache, and melt-in-your-mouth truffles, creating an unforgettable taste experience.
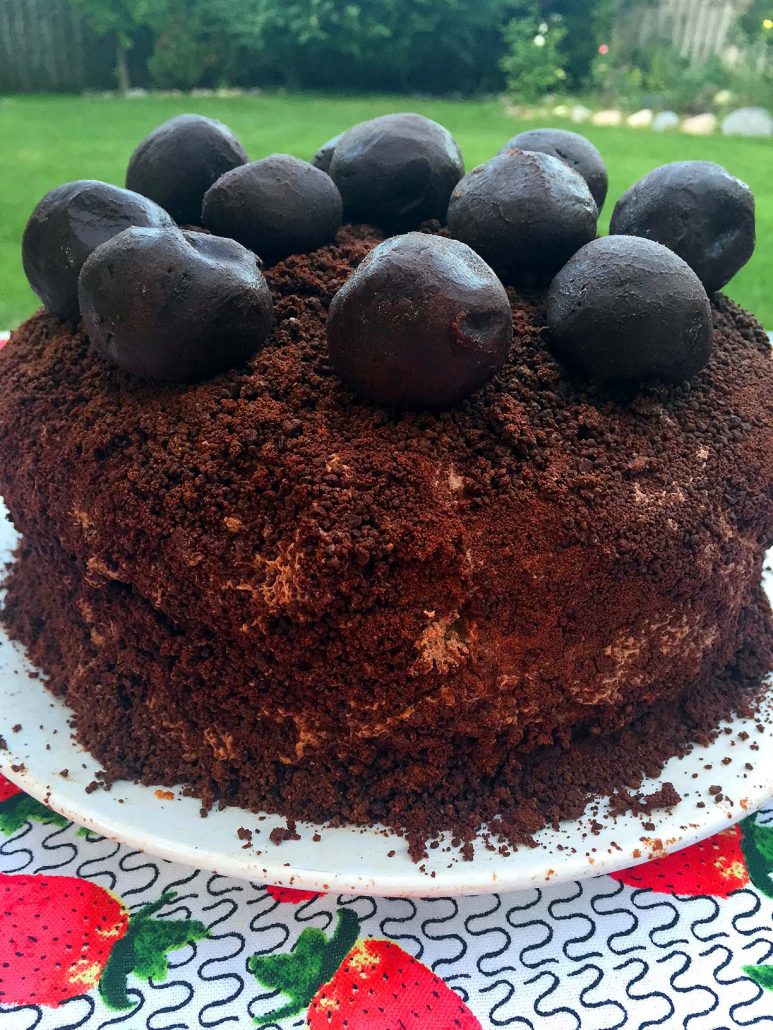
- Showstopper Presentation: The beautiful layers, chocolate crumb coating, and truffle topping make this cake a centerpiece-worthy dessert for any event.
- Made for Chocolate Lovers: This cake is packed with chocolate in every element – perfect for satisfying even the most intense chocolate cravings.
- Perfect Make-Ahead Dessert: It tastes even better the next day, allowing the flavors to deepen and the texture to become even more irresistible.
- Rewarding Baking Project: While the process involves multiple steps, they are straightforward and can be broken down, making the experience as enjoyable as the result!
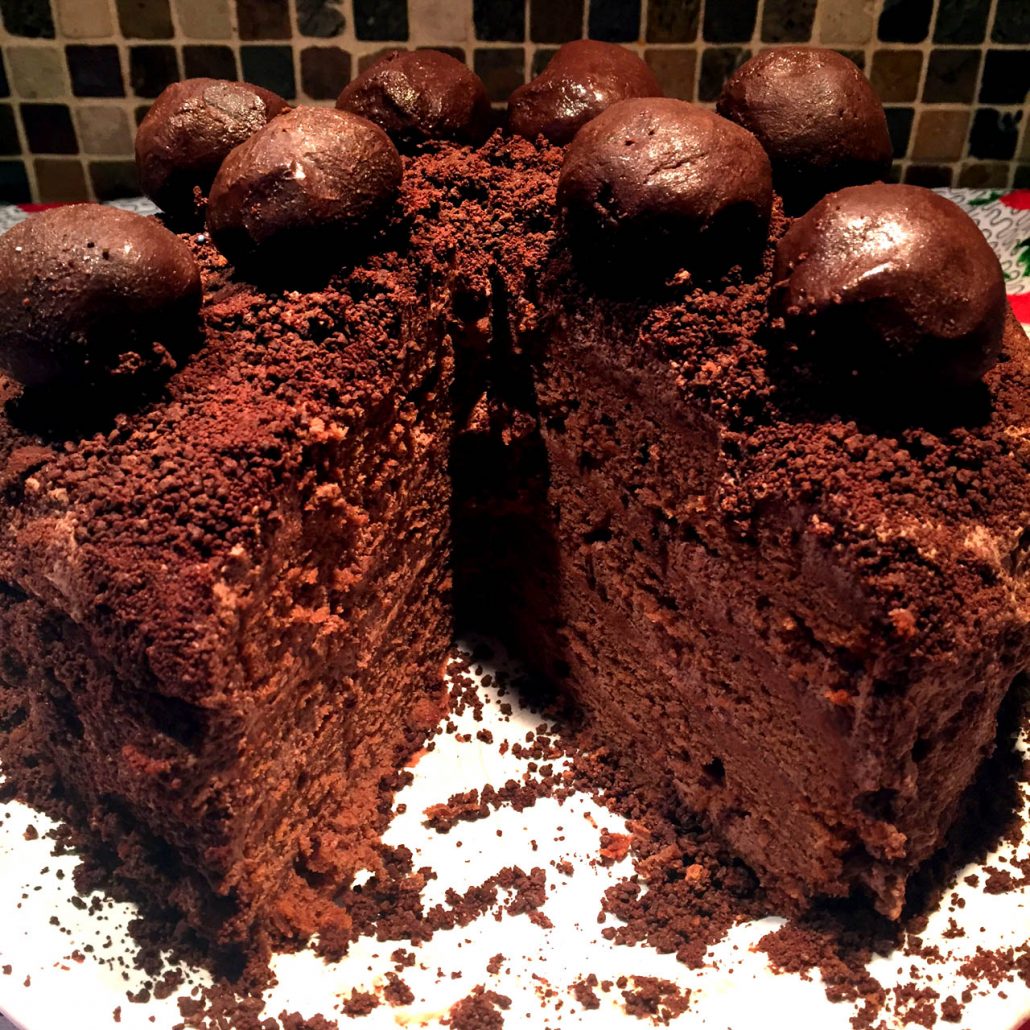
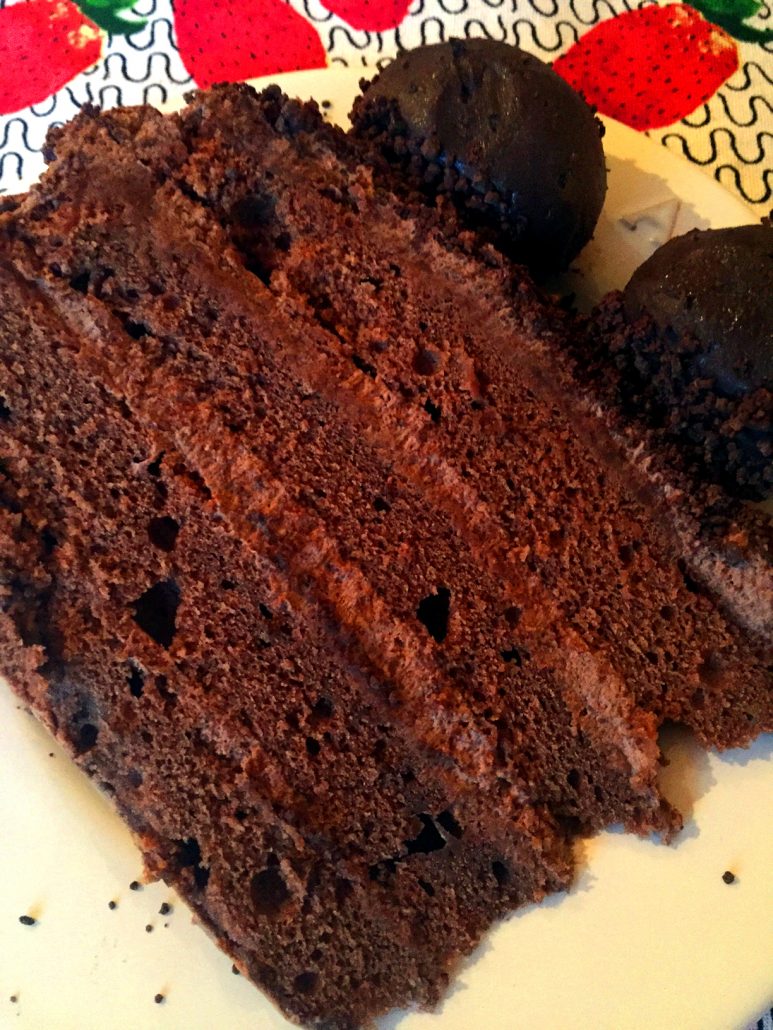
This homemade chocolate truffle cake is a knockout. If you want to make a cake that will impress everybody, this is the cake to make. Chocolate lovers will rejoice biting into this chocolate truffle cake! This is the chocolate cake with the chocolate ganache cream and the chocolate truffles on top – all homemade, including the truffles.
Ingredients For Homemade Chocolate Truffle Cake
- Dark Chocolate – Used in the cake, cream, truffles, and crumbs for a rich and intense chocolate flavor.
- Unsweetened Cocoa Powder – Adds depth and a slightly bitter balance to the cake.
- Espresso Powder (Optional) – Enhances the chocolate flavor without overpowering it.
- Boiling Water – Helps dissolve the cocoa and espresso powder for a smooth mixture.
- All-Purpose Flour – The base for the cake, creating structure and softness.
- Baking Soda – Ensures the cake rises perfectly.
- Butter – Adds moisture and richness to the cake.
- Granulated Sugar – Sweetens the cake to balance the dark chocolate.
- Salt – Enhances the overall flavor profile.
- Eggs – Provide structure and richness.
- Sour Cream – Keeps the cake moist and adds a subtle tanginess.
- Heavy Cream – Used in the ganache and truffles for a luscious texture.
For exact measurements, see the printable recipe card at the bottom of this article.
Every time I make this homemade chocolate truffle cake, it is the king of the dessert table. People absolutely rave about this cake! This chocolate truffle cake is better than most chocolate cakes in the fine restaurants.
Kitchen Tools You Need To Make Homemade Chocolate Truffle Cake
- Mixing Bowls – For combining ingredients at various stages.
- Saucepan – Used to gently heat the cream and chocolate for the ganache and truffles.
- Electric Mixer – Whips the ganache to a fluffy, creamy consistency.
- Food Processor – Perfect for making chocolate crumbs to coat the cake.
- 9-Inch Round Cake Pans – Create the layered cake base.
- Spatula – Helps spread the ganache evenly between layers and on the sides of the cake.
- Measuring Cups and Spoons – Ensures accurate measurements for all the ingredients.
As you can see from most of the recipes on this site, I’m a big fan of easy and quick recipes. However, I do make an exception for this chocolate truffle cake! Even a lazy cook like me takes the time to make this gorgeous cake because the result is so worth it. When you taste this homemade chocolate truffle cake, I guarantee you’ll say that you’ve never tasted any homemade dessert as good as this one.
How To Make Chocolate Truffle Cake
The key to making this amazing chocolate truffle cake is breaking the whole process down into logical steps:
- Prepare the chocolate cream mixture
- Prepare the truffle mixture
- Bake the cake
- Cut the cake into layers
- Whip the chocolate cream
- Assemble the cake and frost each layer with chocolate cream
- Make chocolate crumbs in food processor and put them on the cake
- Make the truffles and put them on top of cake
Even though there are many steps, all of them are pretty straight-forward. I always make the chocolate cream mixture and the truffle mixture the day before. The chocolate cream mixture goes into the refrigerator, and the chocolate truffle mixture goes into the freezer. Then the next day I just bake the cake, and while the cake is baking I whip the chocolate cream and make chocolate crumbs and truffles. Once you get the process down, making the chocolate truffle cake is a breeze!
This chocolate truffle cake tastes even better the next day, so I recommend making it the day before the party and keeping it covered in a refrigerator. It allows the cream to fully penetrate the cake, making the texture even more amazing. Enjoy!
Serving Suggestions
- Serve this chocolate truffle cake with a dollop of freshly Low-Carb Sugar-Free Whipped Cream for added creaminess.
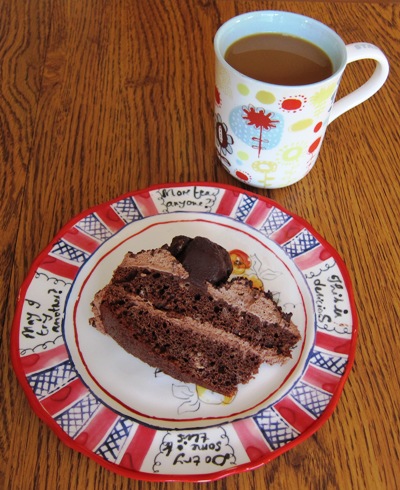
- Pair with a hot cup of Authentic Turkish Coffee or espresso to balance the richness of the cake.
- For a festive touch, dust the truffles with powdered sugar or cocoa powder before placing them on the cake.
- Slice into thin pieces for an elegant presentation at parties or gatherings.
- Add fresh berries like Blueberries or strawberries on the side for a fruity contrast to the chocolate.
Tips For Success
- Plan Ahead: Prepare the ganache and truffle mixtures a day in advance. Chilling these components ensures they’re easy to work with and provide the best texture.
- Use High-Quality Chocolate: The chocolate is the star of this recipe, so select a brand you enjoy eating on its own. Look for a good balance of sweetness and richness, such as 60-70% cocoa content.
- Be Patient With Cooling: Let the cake layers cool completely before slicing and assembling. Warm cake can cause the ganache to melt and make assembly messy.
- Whip With Care: When whipping the ganache, use high speed but stop as soon as you achieve a whipped cream consistency. Over-whipping can result in a grainy texture.
- Even Layers: For a professional finish, use a serrated knife to slice the cake layers evenly. Take your time to ensure smooth and consistent cuts.
- Chill Before Serving: After assembling, refrigerate the cake for at least an hour. This helps the flavors meld together and makes slicing easier.
- Customize the Truffles: Roll the truffles in cocoa powder, crushed nuts, or sprinkles for added variety and a personal touch.
Variations and Substitutions
- Chocolate Choices: Swap dark chocolate for milk chocolate if you prefer a sweeter cake, or use white chocolate for a completely different flavor profile. You can also mix different percentages of chocolate to customize the richness.
- Flour Alternatives: Replace all-purpose flour with a gluten-free blend to make the cake gluten-free. Almond flour can also work but will give the cake a denser texture.
- Flavor Enhancements: Add a teaspoon of vanilla extract or a pinch of cinnamon to the batter for extra depth. A splash of liqueur like Baileys or Kahlua in the ganache can create a more sophisticated flavor.
- Vegan Version: Use plant-based substitutes like coconut cream instead of heavy cream and a vegan chocolate brand. Replace eggs with flaxseed meal or applesauce.
- Nutty Texture: Mix crushed nuts such as hazelnuts, walnuts, or almonds into the batter for added crunch. You can also press nuts into the ganache-covered sides of the cake instead of chocolate crumbs.
- Fruity Twist: Incorporate a layer of fruit jam (raspberry or cherry works beautifully) between the layers along with the ganache for a burst of tartness.
- Smaller Cake: Halve the recipe for a more intimate dessert, perfect for smaller gatherings or a family treat.
- Decorating Ideas: Top with edible gold leaf, shaved chocolate, or colorful sprinkles to suit any celebration theme.
Storage and Reheating
- Refrigerator Storage: Keep the assembled chocolate truffle cake in the refrigerator, covered tightly with plastic wrap or stored in an airtight container. It will stay fresh for up to 5 days.
- Freezer Storage: For longer storage, freeze the cake in individual slices wrapped in plastic wrap and aluminum foil. Place the wrapped slices in a freezer-safe container for up to 3 months.
- Reheating: This cake is best served chilled, but if you prefer a slightly warmer slice, let it sit at room temperature for about 10-15 minutes before serving. Avoid microwaving to maintain the texture of the ganache and truffles.
- Truffle Storage: If you have leftover truffles, store them separately in the refrigerator or freezer in an airtight container.
Frequently Asked Questions
Can I make the chocolate truffle cake ahead of time?
Yes, this cake is ideal for making ahead. Prepare the ganache and truffle mixtures a day before and chill them. You can also assemble the entire cake the day before serving—it actually tastes better the next day as the flavors meld beautifully.
Want to save this recipe?
What type of chocolate should I use?
Use high-quality dark chocolate with a cocoa content between 60-70% for the best flavor. If you prefer a sweeter taste, milk chocolate can be substituted. For a unique twist, try using a combination of chocolates.
How do I ensure my cake layers bake evenly?
Make sure to level your batter in the pans before baking. Use an oven thermometer to check that your oven temperature is accurate. If needed, rotate the pans halfway through the baking time.
Can I freeze the cake layers?
Yes, you can bake the layers in advance and freeze them. Wrap each layer tightly in plastic wrap and aluminum foil, and freeze for up to 3 months. Thaw at room temperature before assembling the cake.
What should I do if my ganache doesn’t whip properly?
Ensure the ganache has been chilled for at least 2 hours before whipping. If it’s still too soft, place it back in the refrigerator for 30 minutes and try again.
Can I use a stand mixer instead of a hand mixer?
Absolutely! A stand mixer with a whisk attachment works wonderfully for whipping the ganache and mixing the batter.
What are some topping alternatives to truffles?
You can use fresh berries, piped rosettes of whipped ganache, or even edible decorations like chocolate curls or sprinkles.
How do I cut clean slices of cake?
Use a sharp knife dipped in hot water and wiped dry between slices. This prevents the ganache and cake crumbs from sticking to the blade.
Other Easy Chocolate Recipes
Gluten-Free Flourless Chocolate Cake with Ganache Glaze: This rich, decadent chocolate cake is naturally gluten-free and topped with a silky ganache glaze for the ultimate dessert indulgence.
Authentic Mexican Hot Chocolate Recipe: Warm up with this traditional Mexican hot chocolate, featuring rich cocoa, cinnamon, and a hint of spice for a comforting treat.
Homemade Chocolate Eclairs with Vanilla Cream Filling: These bakery-style chocolate éclairs are made from scratch with a light pastry, creamy vanilla filling, and glossy chocolate topping.
Easy Air Fryer Chocolate Croissants Using Crescent Dough: Make flaky, chocolate-filled croissants in minutes with this quick and easy air fryer recipe using store-bought crescent rolls.
Simple Chocolate Chip Frosting Recipe: Whip up this luscious, creamy frosting made with melted chocolate chips for cakes, cupcakes, and cookies.
DIY Mason Jar Chocolate Chip Cookie Mix Gift Idea: Create a charming gift with layers of cookie mix ingredients in a mason jar, perfect for baking delicious chocolate chip cookies.
Quick Molten Lava Cakes Baked in Muffin Tins: These easy-to-make molten lava cakes have a gooey chocolate center and bake perfectly in a simple muffin tin.
Homemade Chocolate Truffle Cake Recipe
Want to save this recipe?
Ingredients
Chocolate cake
- 4 oz dark chocolate
- 1/4 cup unsweetened cocoa powder
- 2 tsp espresso powder optional
- 1/2 cup boiling water
- 2 cups flour
- 3/4 tsp baking soda
- 1 1/2 sticks 12 tbsp butter, at room temperature
- 1 2/3 cup sugar
- 1/2 tsp salt
- 4 eggs
- 3/4 cup sour cream
Chocolate cream
- 10 oz dark chocolate
- 4 cups heavy cream
Chocolate Truffles:
- 10 oz dark chocolate
- 2/3 cup heavy cream
Chocolate crumbs:
- 4 oz dark chocolate
Recommended Kitchen Tools (click the links below to see the items used to make this recipe)
- Mixing bowls
- Saucepan
- 9-inch round cake pans
Instructions
Prepare the mixture for chocolate cream
- Break the 10 oz of chocolate into pieces. Put the chocolate and 4 cups of heavy cream in the pot. Heat until the cream starts to simmer. Don't let it boil - take it off the heat. Stir the chocolate so the cream and chocolate are blended together. Let cool, then put in the refrigerator for at least 2 hours.
Prepare the mixture for the chocolate truffles
- Break the 10 oz of chocolate into pieces. Put the chocolate and 2/3 cup of the heavy cream in a saucepan. Heat until the cream starts to simmer. Take it off the heat before it starts to boil. Stir it really well so the chocolate and cream are blended together. Let cool, then put in a freezer for at least 2 hours.
Bake the cake
- Preheat the oven to 350F.
- Break the chocolate into small pieces and put in a bowl. Add cocoa and espresso powder to the chocolate. Pour boiling water over cocoa and chocolate. Let stand for 2 minutes, then mix until the chocolate melts and everything is combined.
- In a large bowl, mix the butter and sugar together. Add eggs and mix. Add the chocolate and cocoa mixture and mix. Add flour, baking soda, salt and sour cream, then mix until everything is combined and smooth.
- Spray 2 non-stick 9-inch round pans with non-stick spray. Pour the batter into 2 pans. Bake for 30 minutes.
- Remove from oven and let cool for 15 minutes. Invert the cakes out of the pans. Slice each cake into 2 layers.
- You should now have 4 layers to make one tall cake - the layers will go on top of each other with chocolate cream in between layers.
Whip the chocolate cream
- Take the chocolate cream mixture out of the refrigerator, and pour it in a large bowl. Whip with a mixer on a highest speed for 5 minutes, or until it's thick and has a consistency of a whipped cream.
Assemble the cake
- Divide the chocolate cream into 5 parts: 1 part for each of the 4 layers, and the 5th part for the sides of the cake.
- Put the first layer of the cake on a plate that you'll use for serving the cake. Spread 1 part of the cream on this layer. Put the second layer on top. Spread another 1 part of the cream. Repeat for the 3rd and 4th layer. Smear the remaining 1 part of the cream on the sides of the cake, using your hand.
Make the chocolate crumbs and put on the cake
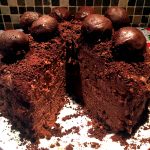
- Put 4 oz chocolate into the food processor, and process until it turns into chocolate crumbs. Sprinkle the chocolate crumbs on top and sides of the cake
Make the chocolate truffles and put on the cake
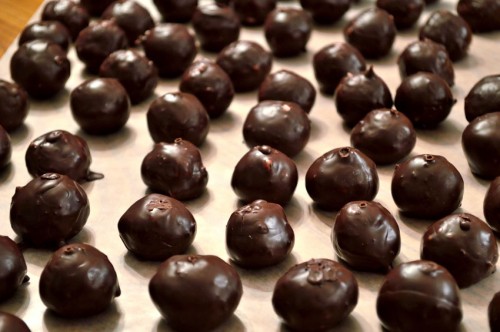
- Take the truffle mixture that you made the day before out of the freezer. With the spoon, take out pieces of the mixture. Roll them in your hands and make into balls.
- Put the truffles on top of the cake.
- Store the chocolate truffle cake in the refrigerator until ready to serve.
More Dessert Recipes
- Jello Dessert with Mixed Fruit Cocktail
- No-Bake Cheerios and Peanut Butter Bars Recipe
- Classic Air Fryer Apple Crumble Dessert

Hi Melanie!
Terrific looking cake!!! I’ll bet it tastes as good as it looks too. Beautiful kids–but that’s expected because mom’s pretty terrific and smart herself!
Happy birthday to you and many more.
Pete
For a chocoholic like me, that looks like heaven.. cute kids too!
Happy Birthday!
Well, Melanie, you’re certainly aging well, although one can’t call 33 aging, I guess.
And after looking through some of those recipes, it sure looks like you’re quite a cook in addition to being a great marketer.
Keep up the good work – and have many more happy and healthy birthdays.
Melanie, that really looks delicious. I like trying new things on the stove and in the oven. I will try to make this very soon. Thank you for sharing.
Glenn H. Kipps
I am going to try this cake right away!!! I have not had the best luck with cakes and this one turned out beautifully! Thanks for sharing! (Happy B-Day!)
The cake looks gorgeous, thank you for sharing the recipe! I already make truffles, now I can make a cake for them to sit on. Happy Birthday!
Wow, the cake looks so divine! Happy Birthday!
One of my favorite kind of cakes. Your presentation is great.
I was at IKEA today and bought one of their dark chocolate bars. As Melanie professed – IT’S OUTRAGEOUS! i just ate the whole thing in one sitting. me bad. LOL.
Hello,
Would you please expand on the type of dark chocolate you used? Percent and/or brand? It looks just right.
Thanks- love your recipies!
I used Hershey’s Special Dark chocolate.
This chocolate truffle cake is even better the next day! I keep it covered in the refrigerator until we are ready to enjoy it. Enjoy every bite!