Baked Falafel Recipe With Canned Chickpeas
This post may contain affiliate links (disclosure).
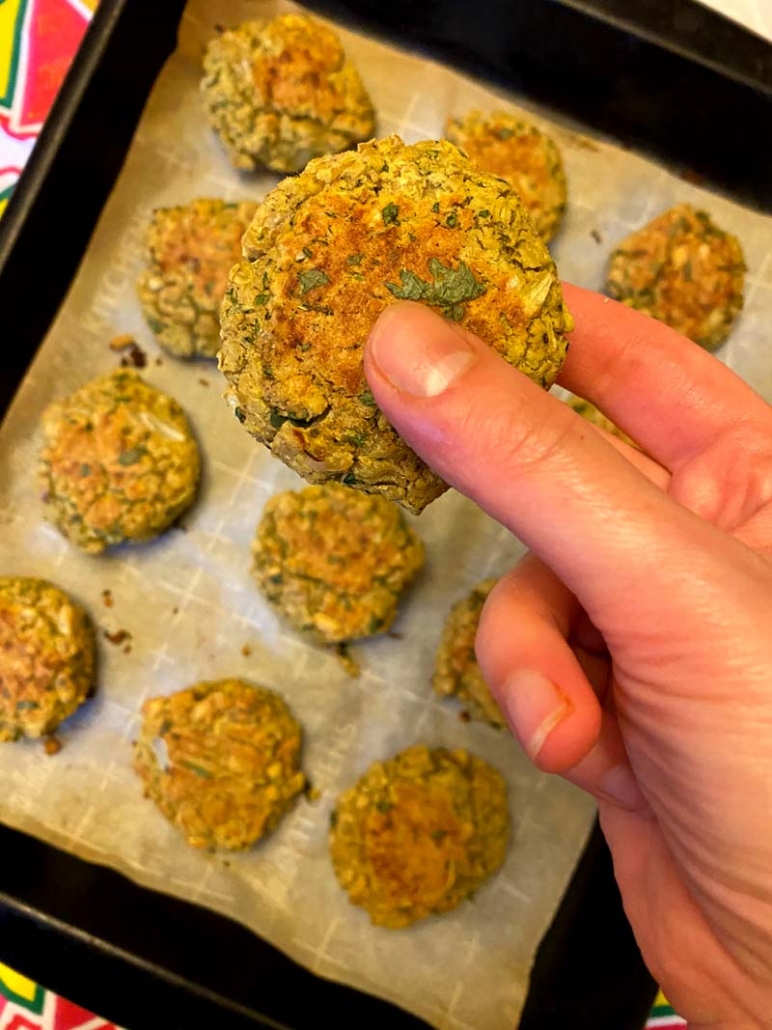
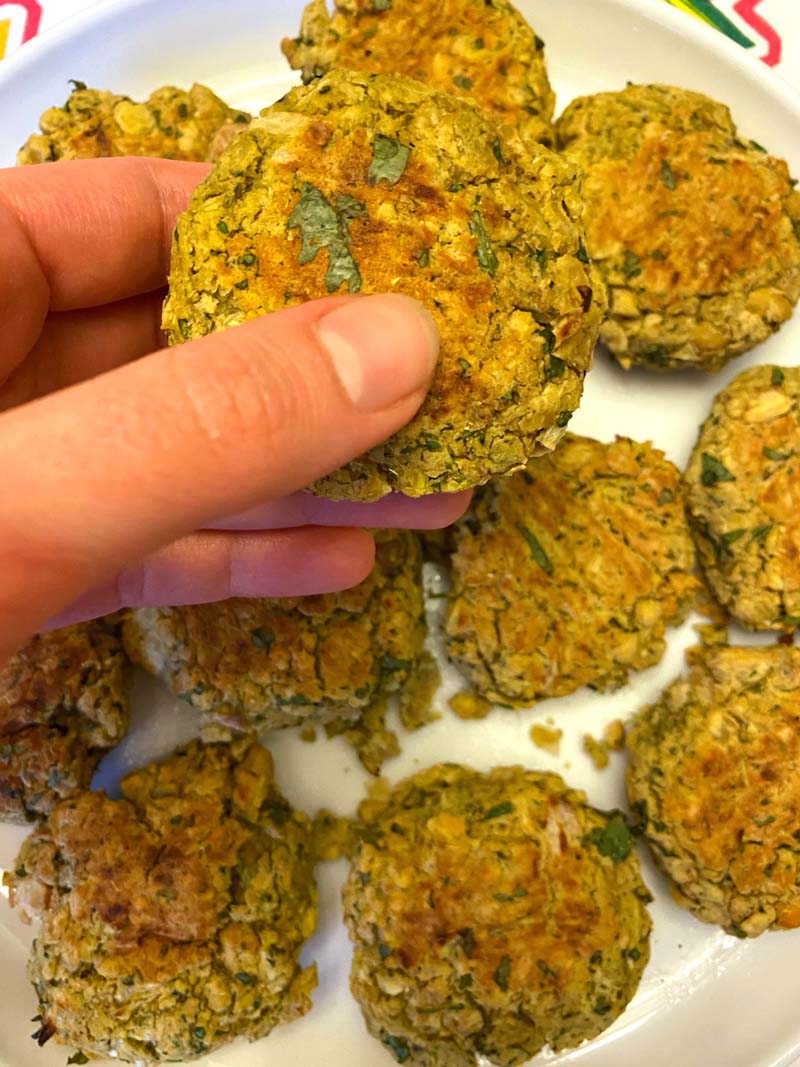
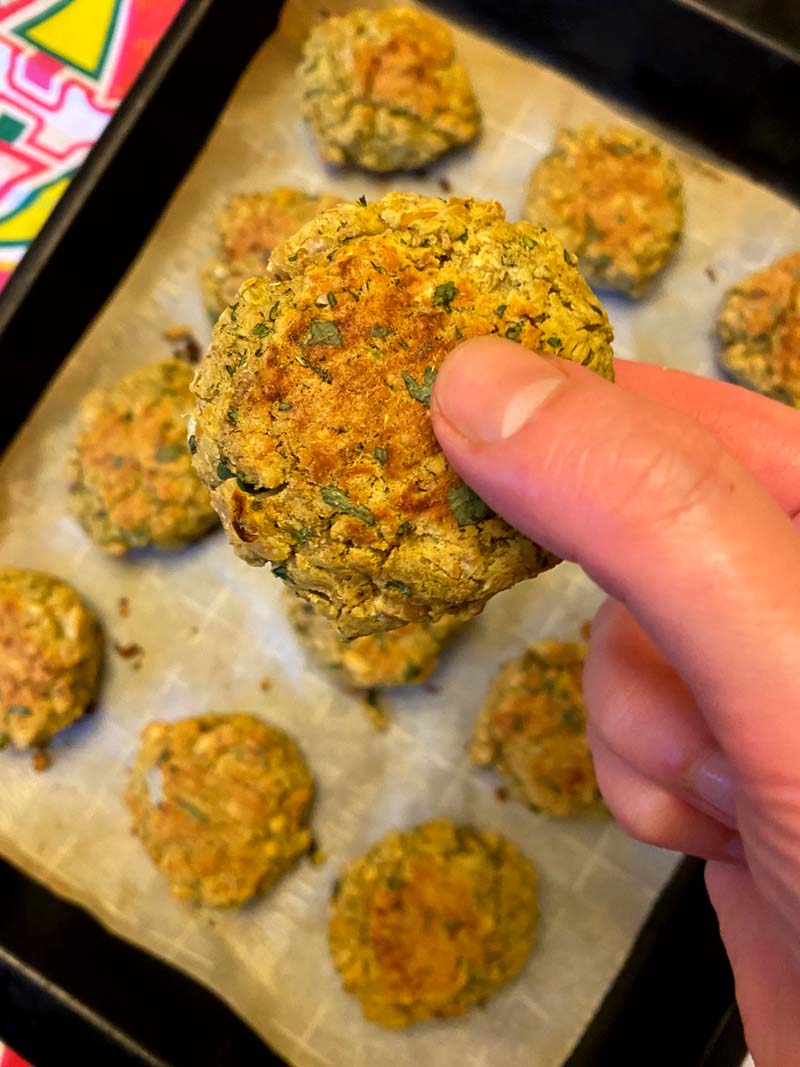
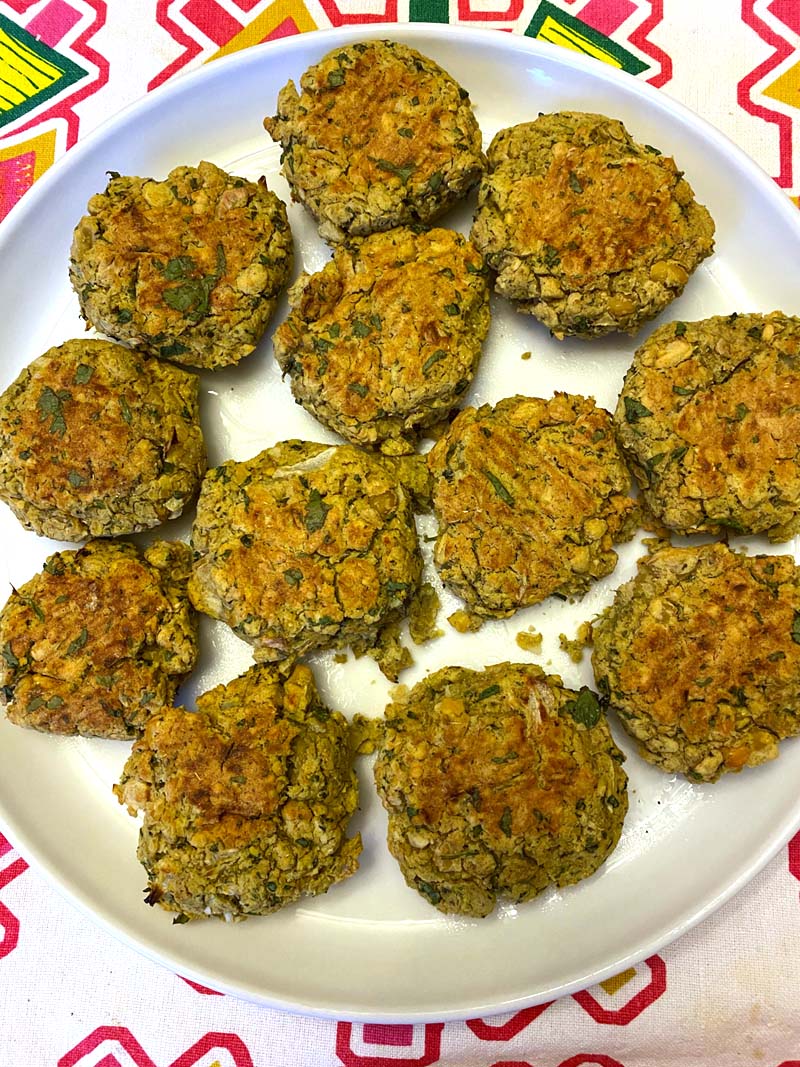
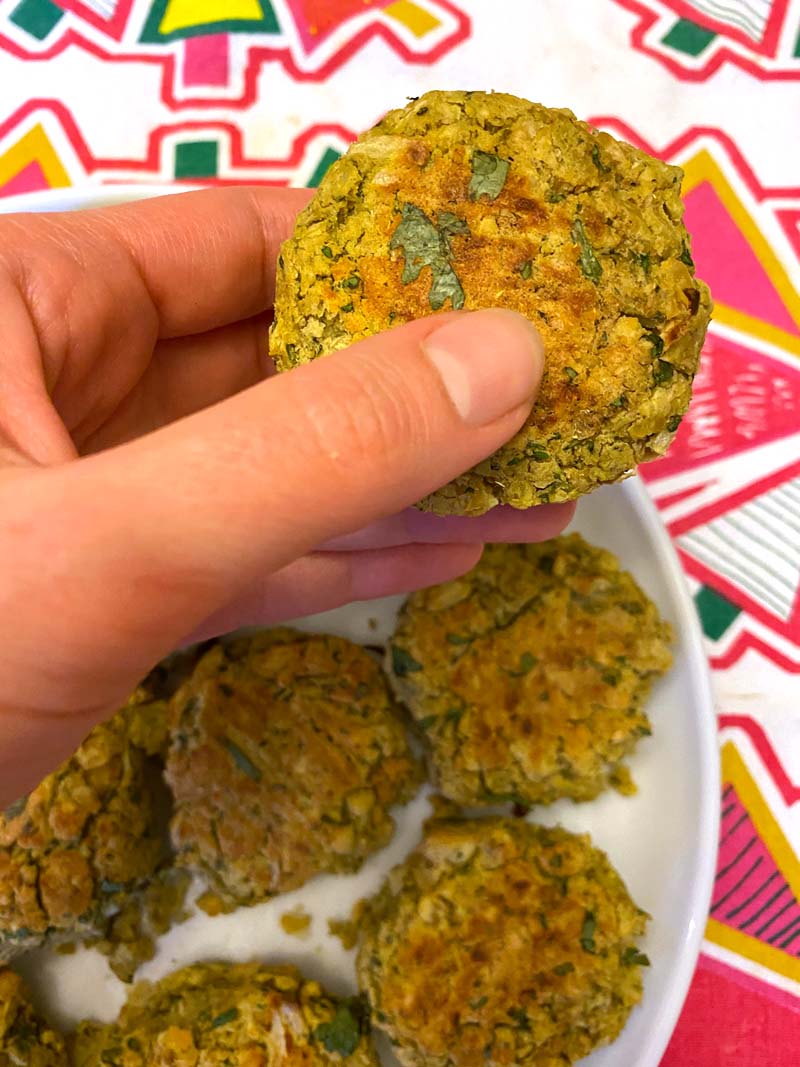
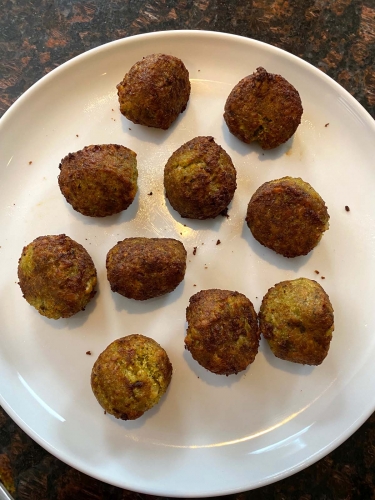
Baked falafel made with canned chickpeas is a game-changer for quick and easy meals! This healthy, plant-based recipe delivers all the classic Middle Eastern flavors in a lighter, oven-baked version. Perfect for busy weeknights or meal prep, these falafels are crispy on the outside, tender on the inside, and absolutely delicious.
These delicious baked falafels are so quick and easy to make, and they are made with canned chickpeas for ease and convenience. Wonderfully seasoned, these vegan falafels are ready to serve in 30 minutes and can be made ahead of time.
Want to save this recipe?
Why You’ll Love Baked Falafel With Canned Chickpeas
- Quick and Easy: This recipe comes together in just 30 minutes, making it perfect for busy weeknights or last-minute meals. No soaking or cooking chickpeas needed, thanks to the canned version!
- Healthy and Light: Baked instead of fried, these falafels are a lower-fat alternative that still delivers incredible flavor. They’re packed with plant-based protein and fiber.
- Versatile Dish: Enjoy them in pita sandwiches, wraps, salads, or as a snack with your favorite dips. They complement a variety of meals and cuisines effortlessly.
- Diet-Friendly: Vegan, gluten-free, and vegetarian, these falafels cater to many dietary needs without sacrificing taste. A crowd-pleaser for everyone at the table!
- Make-Ahead Friendly: The falafel mixture can be prepped days in advance, and the patties freeze beautifully. Enjoy homemade falafel whenever you want without the hassle.
There’s nothing quite like freshly baked falafels, especially when they are this quick and easy to make! Loaded with flavor and seasoned with Middle Eastern spices, they are a wonderful addition to any meal!
Because these falafel are baked rather than fried, they are a great healthy alternative. They are vegan, gluten-free and high in protein.
Baked Falafel Ingredients
- Canned chickpeas – The star ingredient, providing the creamy base and protein. No need for soaking or cooking!
- Onion – Adds a subtle sharpness and depth of flavor to the mixture.
- Cilantro – Brings a fresh, herbaceous taste that complements the spices beautifully.
- Garlic – For a rich, aromatic punch that elevates the flavor.
- Cumin – A warm, earthy spice essential to authentic falafel.
- Coriander – Optional but highly recommended for a citrusy, aromatic note.
- Salt and pepper – Enhances and balances all the flavors.
- Olive oil – Used to brush the patties, giving them a crispy, golden exterior.
For the exact measurements of the ingredients, see the printable recipe card at the bottom of this article.
Kitchen Tools You Need To Make Baked Falafel With Canned Chickpeas
- Food Processor: Essential for blending the chickpeas and other ingredients into a smooth, cohesive mixture.
- Measuring Cups and Spoons: Ensures precise ingredient measurements for consistent results.
- Silicone Basting Brush: Perfect for brushing olive oil evenly on the falafel patties.
- Non-Stick Baking Sheet: Prevents sticking and makes cleanup easy.
- Parchment Paper: Provides an additional non-stick surface and helps with even baking.
- Spatula: For flipping the falafel patties during baking without breaking them.
How To Make Baked Falafel
These falafel are are so quick and easy to prepare. It takes 10 minutes to mix and shape them and then bake in the oven until they are perfectly golden brown.
-
Put onion, garlic and cilantro in a food processor fitted with the steel blade and process until minced (click here for the food processor model I recommend).
-
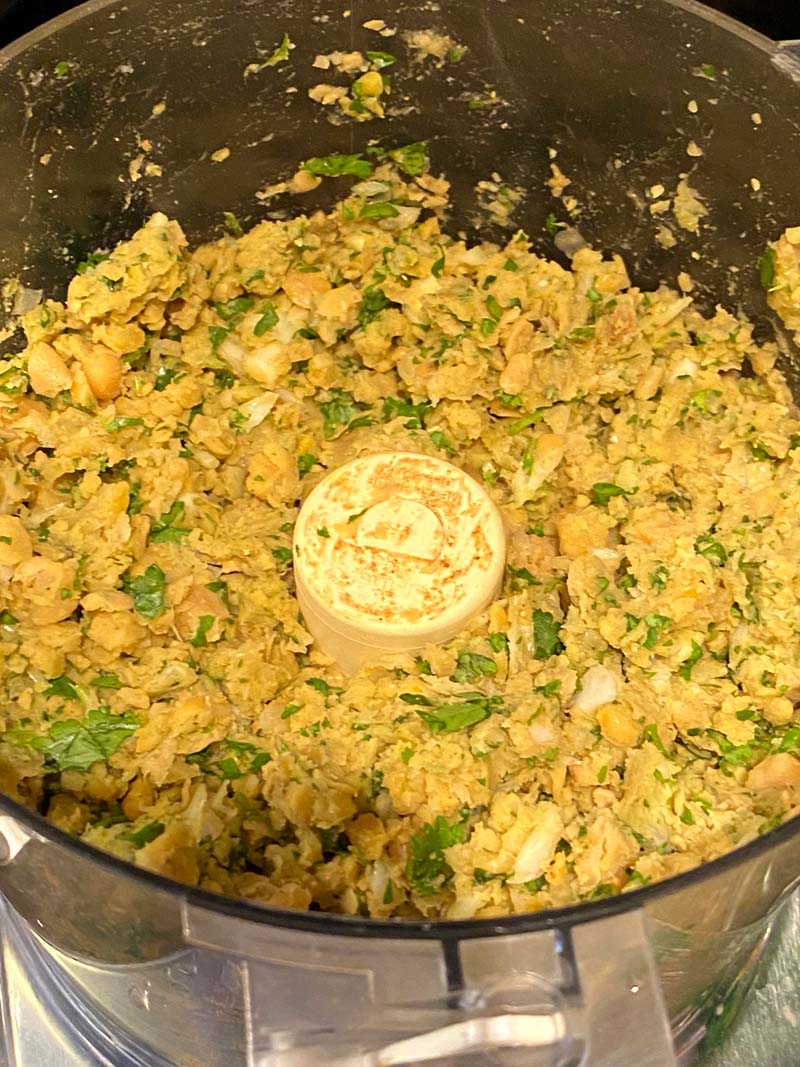
Add the chickpeas, cumin, coriander, salt and pepper and process until combined and smooth.
-
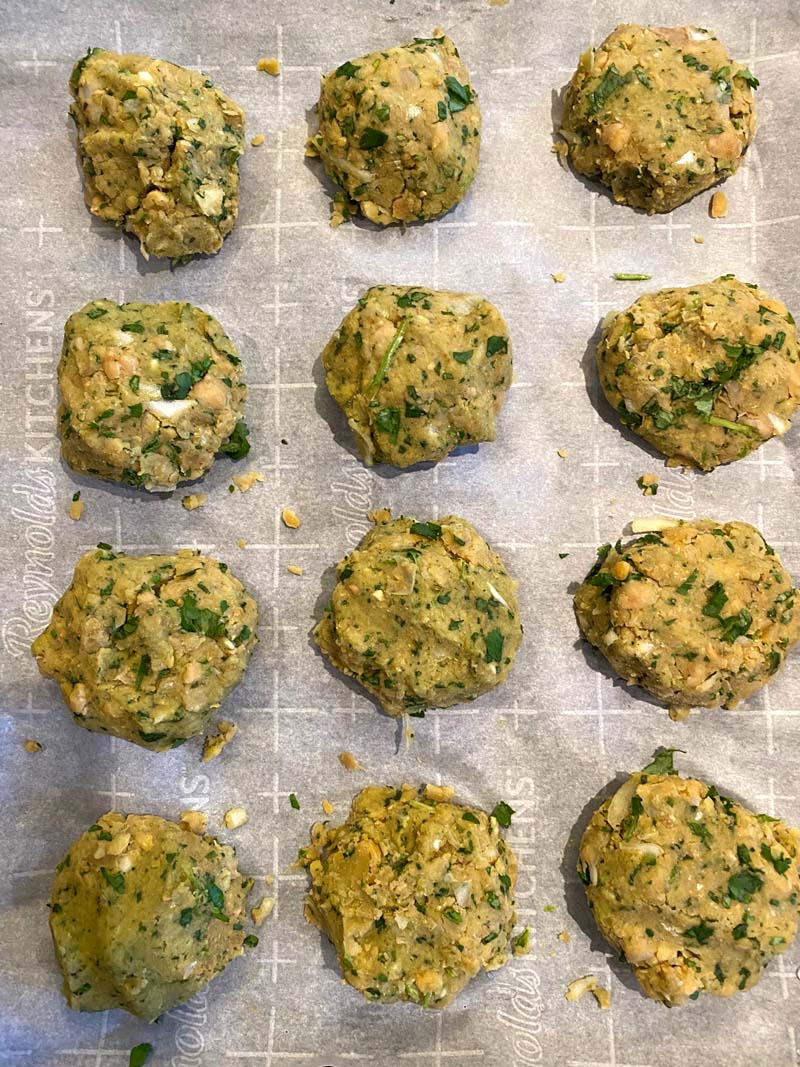
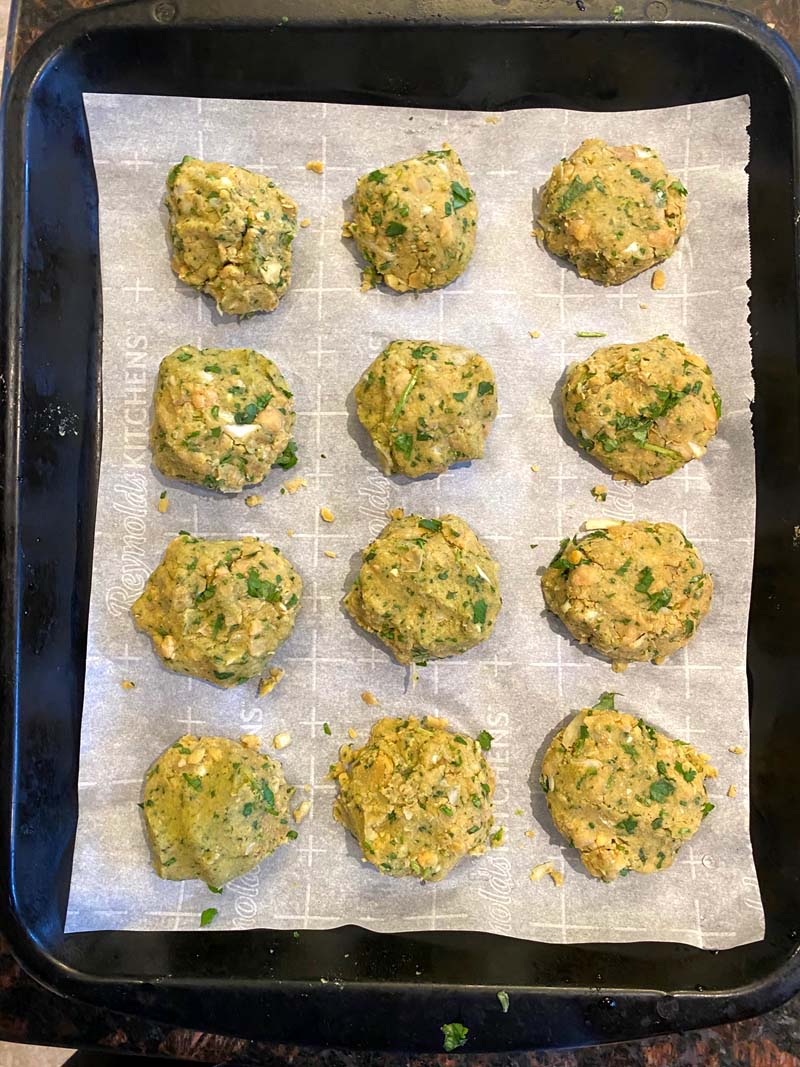
Shape the falafel mixture into balls and place on a parchment lined baking sheet.
-
Flatten each ball with your hand and brush olive oil on top.
Want to save this recipe?
- Put falafel in the oven and bake for 10 minutes.
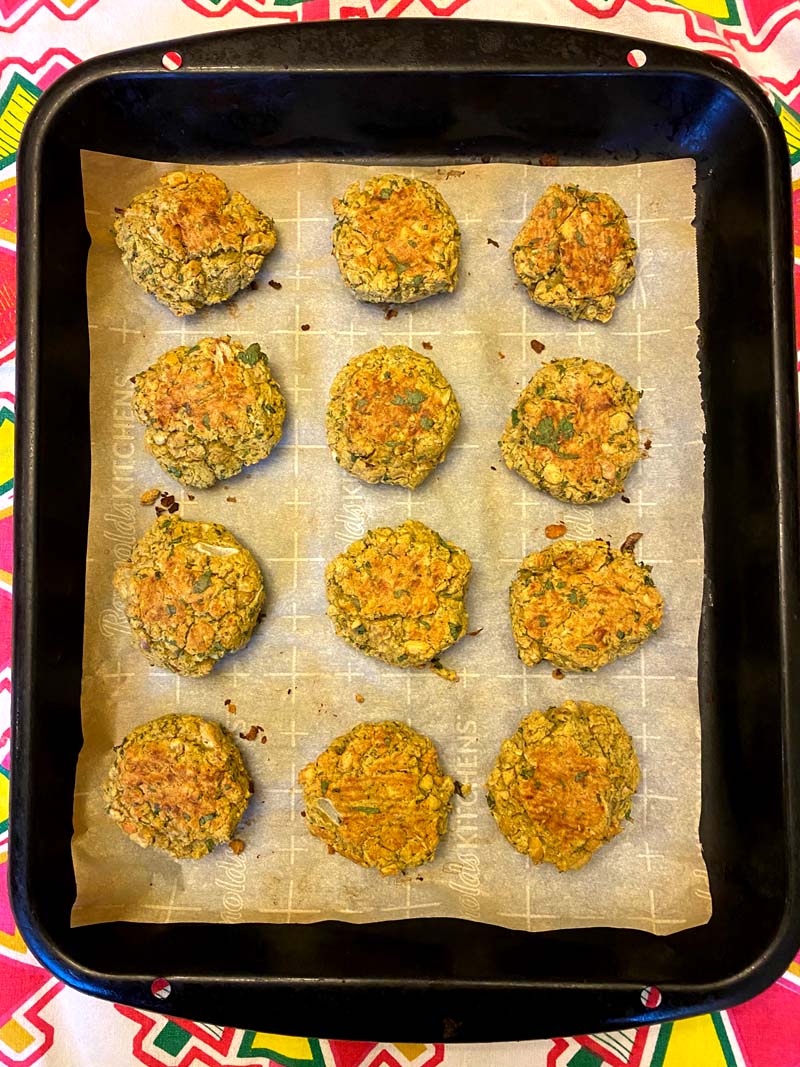
- Take it out of the oven, flip over each falafel patty with a spatula and brush the other side with olive oil.
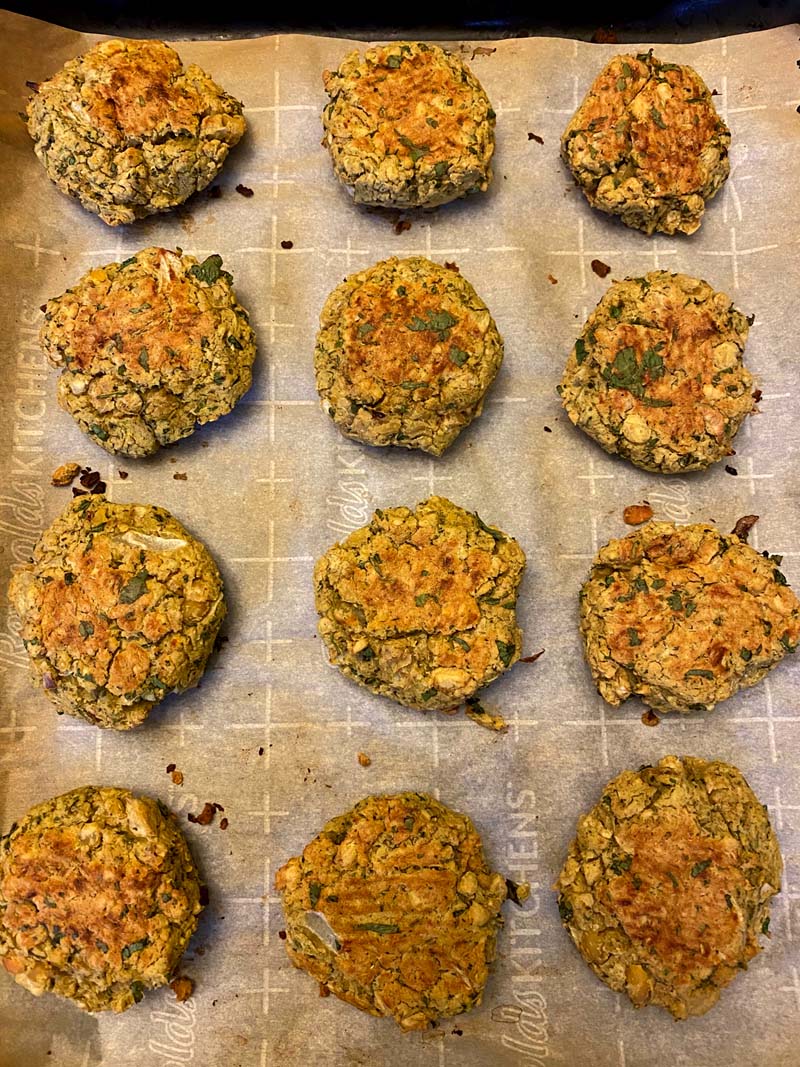
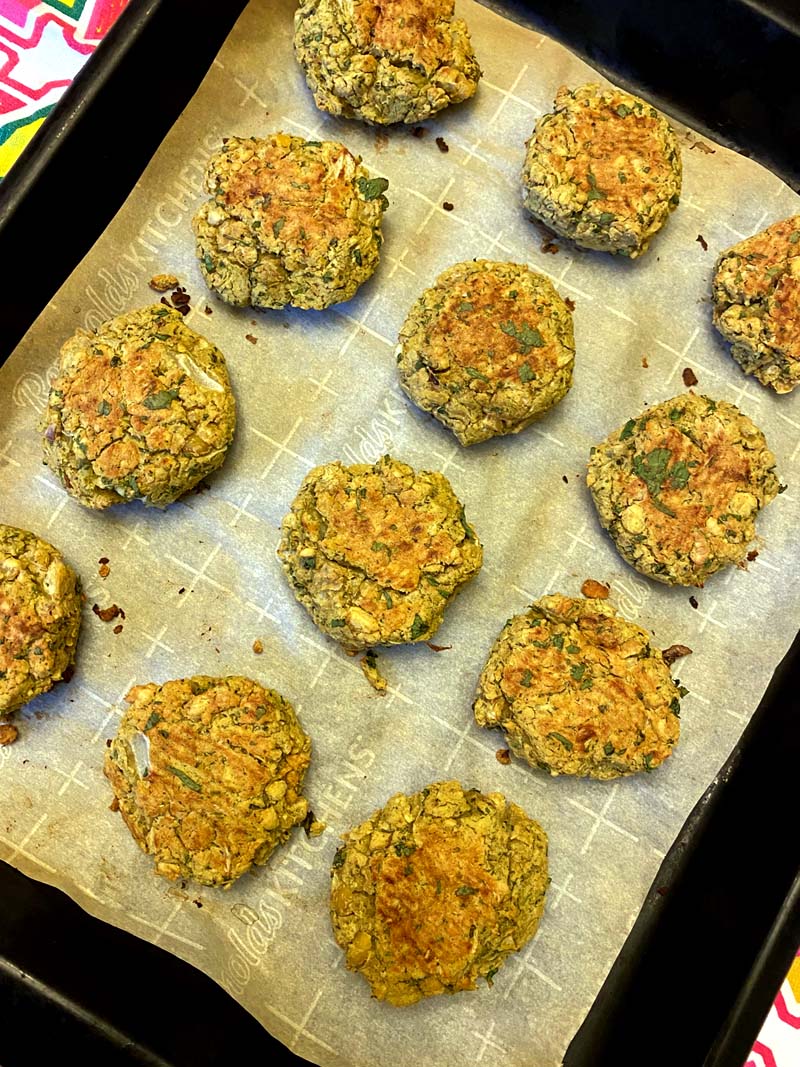
- Put them back in the oven and bake for another 10 minutes, or until golden-brown.
How do you serve falafel?
One of the most popular ways to serve falafel is in pita bread. Top it with fresh garnishes like lettuce, tomatoes and cucumber and drizzle over some hummus, tzatziki or a spicy dip. You can also place them in a burger bun for a great vegan burger option or a wrap. They also make a great addition to salads, serve them whole or crumbled on top of a fresh bed of lettuce.
Tips For Success
- Drain the Chickpeas Thoroughly: Any extra moisture from the canned chickpeas can make the falafel mixture too wet. Pat them dry with a paper towel before blending.
- Don’t Overprocess the Mixture: Blend the ingredients just until smooth. Overprocessing can make the mixture too soft and difficult to shape.
- Adjust Seasoning to Taste: After blending, taste the mixture and adjust the salt, pepper, or spices as needed before forming the patties.
- Use Parchment Paper: This prevents the falafel from sticking to the baking sheet and ensures they bake evenly without breaking apart.
- Flatten the Falafel: Shaping them into flat patties instead of balls helps them bake evenly and develop a crispy exterior.
- Brush with Olive Oil Generously: This step is crucial for achieving a golden-brown, slightly crispy exterior while baking.
- Let the Falafels Cool Slightly: After baking, allow them to sit for a few minutes to firm up. This helps maintain their shape when serving.
- Make Ahead: You can prepare the mixture ahead of time and store it in the fridge. This saves time and enhances the flavors as they meld together.
- Reheat for Crispiness: If you’re reheating leftovers, use an oven or toaster oven to maintain the crispy texture, avoiding the microwave if possible.
- Experiment with Spices and Herbs: While this recipe uses cumin and coriander, you can try adding paprika, parsley, or chili flakes for variation.
Variations And Substitutions
- Spice It Up: Add red chili flakes or cayenne pepper to the mixture for a spicy kick. A pinch of smoked paprika can add a subtle smoky flavor.
- Herb Substitutions: If you’re not a fan of cilantro, try substituting it with fresh parsley or a combination of parsley and mint for a slightly different flavor profile.
- Garlic Alternatives: For a milder garlic flavor, roast the garlic cloves before adding them to the mixture.
- Chickpea Alternatives: Swap canned chickpeas for cooked dried chickpeas if you prefer a more traditional approach. Lentils or white beans can also be used for a unique twist.
- Oil-Free Version: Skip brushing the falafel with olive oil for a completely oil-free recipe. Just be aware they may not brown as much.
- Gluten-Free Binding Option: This recipe naturally holds together well, but if needed, a tablespoon of gluten-free flour or chickpea flour can help bind the mixture.
- Flavor Boosters: Add a teaspoon of tahini to the mixture for a nutty richness, or squeeze in some fresh lemon juice for a zesty brightness.
- Pan-Fried Falafels: If you’re short on time, pan-fry the falafels in a little oil instead of baking. They’ll cook faster but will still be deliciously crispy.
- Air Fryer Option: For an even healthier version, use an air fryer at 375°F. Cook for about 8–10 minutes, flipping halfway through.
- Serving Style Variations: Instead of traditional pita, serve falafels as sliders, in a lettuce wrap, or crumbled over nachos for a fusion twist.
Storage and Reheating
- Storage: Store baked falafels in an airtight container in the refrigerator for up to 6 days. Ensure they are completely cooled before placing them in the container to avoid condensation.
- Freezing: You can freeze the falafels either before or after baking. For unbaked falafels, place them on a baking sheet in the freezer until solid, then transfer them to a freezer-safe bag or container. Baked falafels should also be frozen in a single layer before transferring to a container. Separate layers with parchment paper.
- Reheating from the Fridge: Warm the falafels in a 350°F oven for about 10 minutes to restore their crispiness. Avoid microwaving, as it may make them soft.
- Reheating from Frozen: If frozen unbaked, thaw the falafels in the fridge overnight before baking as directed. For frozen baked falafels, reheat them directly from frozen in a 350°F oven for 15–20 minutes, or until heated through and crispy.
Can you make falafel ahead of time?
The falafel mixture can be made up to 5 days ahead of time and store in the fridge in an air tight container. Baked falafels can be kept in the fridge in the same way for up 6 days.
You can reheat falafels in the oven at 350F for 10 minutes to warm them through to serve.
Can you freeze baked falafel?
Yes! You can freeze these vegan falafel either baked or unbaked, making them perfect for freezer meals.
- Unbaked: Make the mixture and form it into patties. Freeze them on a baking sheet and once solid transfer the to a freezer bag or container. They will keep for up to 6 months. Thaw the patties in the fridge overnight and bake as per the recipe.
- Baked: Allow the cooked falafel cool to room temperature and freeze on a cookie sheet until solid. Transfer to an airtight container and separate the layers with parchment paper. You can reheat them from frozen in an oven at 350F for 15 to 20 minutes.
Can you make falafel with dried chickpeas?
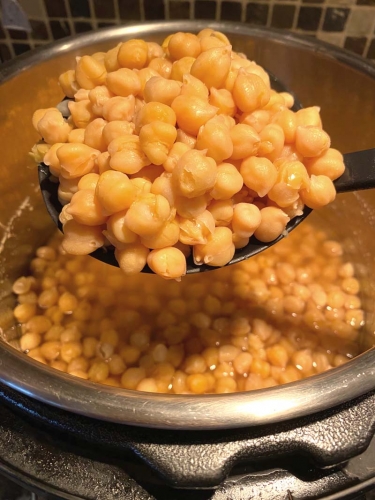
I like to use canned chickpeas for ease, this is a great recipe for when I don’t have time to soak and cook dried chickpeas. If you have dried chickpeas you want to use, you can cook them in the Instant Pot first and follow the recipe as is.
Can you fry rather than bake falafels?
I like to bake falafels to cut down on the amount of oil, but if you are in a hurry, frying is a quicker method. Heat some oil in a frying pan, enough to cover half of the falafel patty. Once hot, add the patties to the oil, cook for about two minutes before flipping over and cooking for another couple of minutes on the other side. Fry in batches and take care not to overcrowd the pan.
More Easy Chickpea Recipes
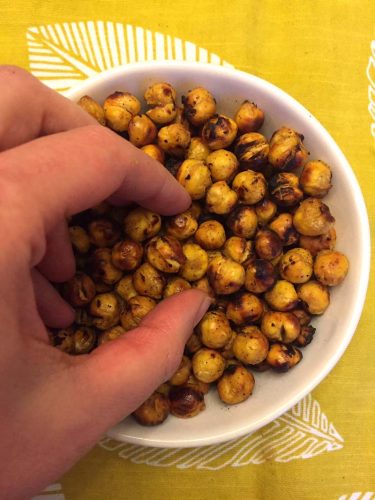
- Air Fried Roasted Chickpeas
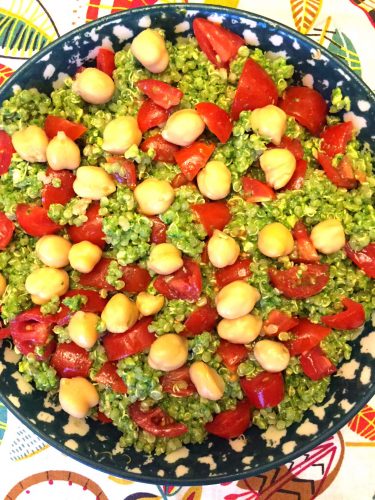
- Quinoa and Chickpea Mason Jar Salad
- Vegan Mediterranean Chickpea Salad
- Vegan Buddha Bowl
Baked Falafel With Canned Chickpeas
Want to save this recipe?
Ingredients
- 2 cans chickpeas 30 oz total, drained and rinsed
- 1 small onion quartered
- 1 bunch cilantro
- 3 cloves garlic
- 2 tsp cumin
- 1 tsp coriander optional
- 1/2 tsp salt
- 1/4 tsp pepper
- 1 tbsp olive oil
Recommended Kitchen Tools (click the links below to see the items used to make this recipe)
Instructions
- Preheat the oven to 425F. Line a baking sheet with parchment paper.
- Put onion, garlic and cilantro in a food processor fitted with the steel blade and process until minced (about 1 minute)
- Add the chickpeas, cumin, coriander, salt and pepper and process until combined and smooth, scraping down the sides if needed (about 1 minute). Add more salt to taste if needed.
- Shape falafel mixture into balls (about 2 inches in diameter). Put falafel balls on the baking sheet and flatten each ball with your hand so they turn into patties about 1/2 inch thick.
- Brush the falafel patties with olive oil on top.
- Put falafel in the oven and bake for 10 minutes. Take it out of the oven, flip over each falafel patty with a spatula and brush the other side with olive oil. Put them back in the oven and bake for another 10 minutes, or until golden-brown.
Nutrition
See also:




They’re quick to make and perfect for adding to salads or wraps.
Baked falafel with canned chickpeas is a great healthy option! 👌