Homemade Baked Pita Chips Recipe
This post may contain affiliate links (disclosure).
These homemade baked pita chips are so crunchy, yummy and addictive! Super easy to make, ready in 20 minutes! Once you try these homemade pita chips, you’ll never want to eat store-bought ever again!
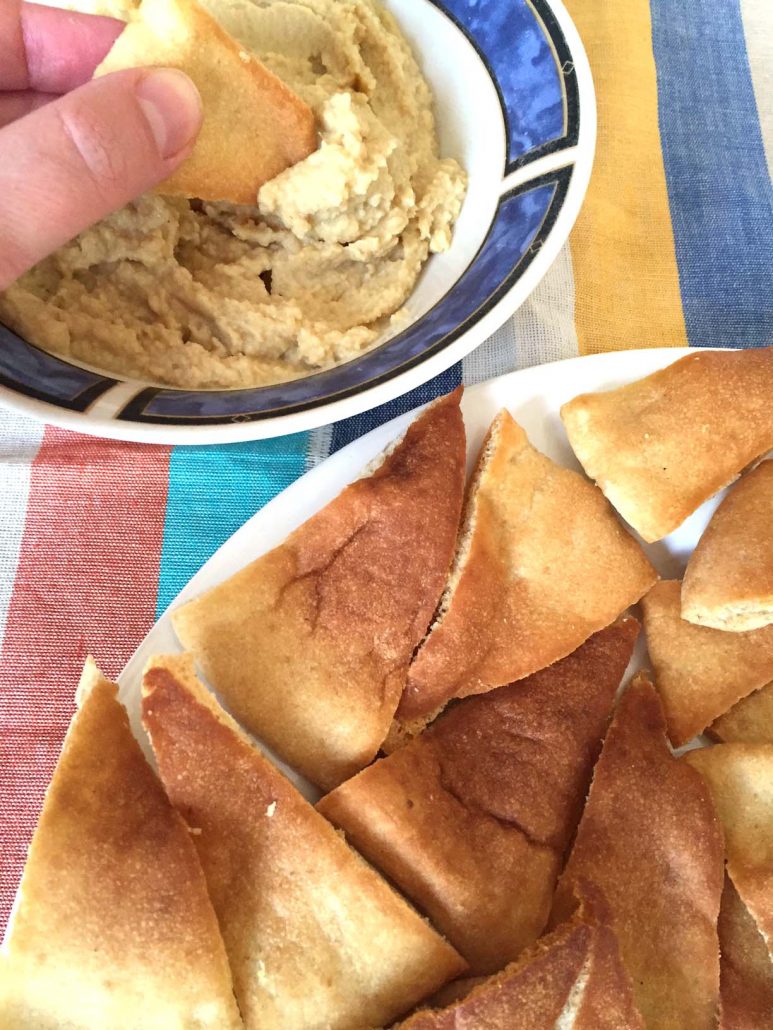
These homemade pita chips are amazing! They are super addictive, yum yum yum! You can crunch through a whole batch in one sitting! Want the hummus recipe that’s pictured with those baked pita chips? That’s my sesame-free hummus, super easy to make!
Why You’ll Love Homemade Baked Pita Chips
- Fresh and Flavorful: These homemade pita chips are made with fresh pita bread, so you can taste the difference from store-bought chips. No preservatives or artificial ingredients—just clean, natural flavor in every bite.
- Customizable: You can season these chips exactly the way you like them! Whether you prefer a simple sprinkle of salt or a bolder mix of spices like chili powder and garlic, you’re in control of the flavor.
- Quick and Easy: With only 20 minutes from start to finish, these pita chips are incredibly easy to make. All you need to do is brush, cut, and bake—perfect for a last-minute snack.
- Healthier Option: By making these chips at home, you can use wholesome ingredients like whole wheat pita or control the amount of oil and seasoning, making them a healthier alternative to packaged chips.
- Perfect for Dipping: These chips are super crispy, making them the perfect companion for dips like hummus, guacamole, or even salsa. They hold up to thick dips without breaking!
Homemade pita chips are so much better than store-bought. Since you make them with fresh pita bread, they don’t have any chemicals or preservatives! They also taste clean and fresh, not like the store-bought ones that’s been sitting in the bag for months :) As always, homemade wins the taste test!
Ingredients For Homemade Baked Pita Chips
- Pitas – The base of the recipe! You can use regular, whole wheat, or gluten-free pita depending on your preference.
- Olive Oil – Helps to crisp up the chips and adds a touch of flavor. You can also substitute with another oil like avocado or omit it entirely for a lighter option.
- Seasonings – This is where you can get creative! Use salt, pepper, garlic powder, onion powder, or chili powder to customize your chips. You can also go for something sweet like cinnamon for a unique twist.
For the exact measurements of the ingredients, see the printable recipe card at the bottom of this article.
Making these baked pita chips is super easy. It only takes 20 minutes to make a huge batch! All you need to do is brush pita with oil, cut into triangles, put on a baking sheet and bake at 350F for 15 minutes or until crisp. That’s all there is to homemade pita chips :) You can even make them in a microwave instead of the oven – check out my microwave pita chips recipe.
Kitchen Tools You Need To Make Homemade Baked Pita Chips
- Pastry Brush – Perfect for brushing olive oil evenly on both sides of the pita bread.
- Scissors – Makes it super easy to cut the pita bread into triangle-shaped chips.
- Baking Sheets – You’ll need two to spread the pita chips out in a single layer so they bake evenly.
- Parchment Paper – Lining your baking sheets with parchment paper ensures the chips don’t stick and makes cleanup easier.
- Measuring Spoons – To measure out your olive oil and any seasonings you choose to add.
You can make these pita chips as healthy as you’d like. You can use the whole wheat pita, gluten-free pita, homemade pita bread, you can omit the oil if cutting calories – it’s totally up to you.
You can also control and customize the seasonings. I like my pita chips plain, so I add nothing. You can add salt, pepper, chili powder, cinnamon, garlic powder, onion powder – whatever seasonings you like. If adding the spices, add them after brushing pita with oil – the oil will help the seasonings stick to the pita chips.
How To Make Baked Pita Chips
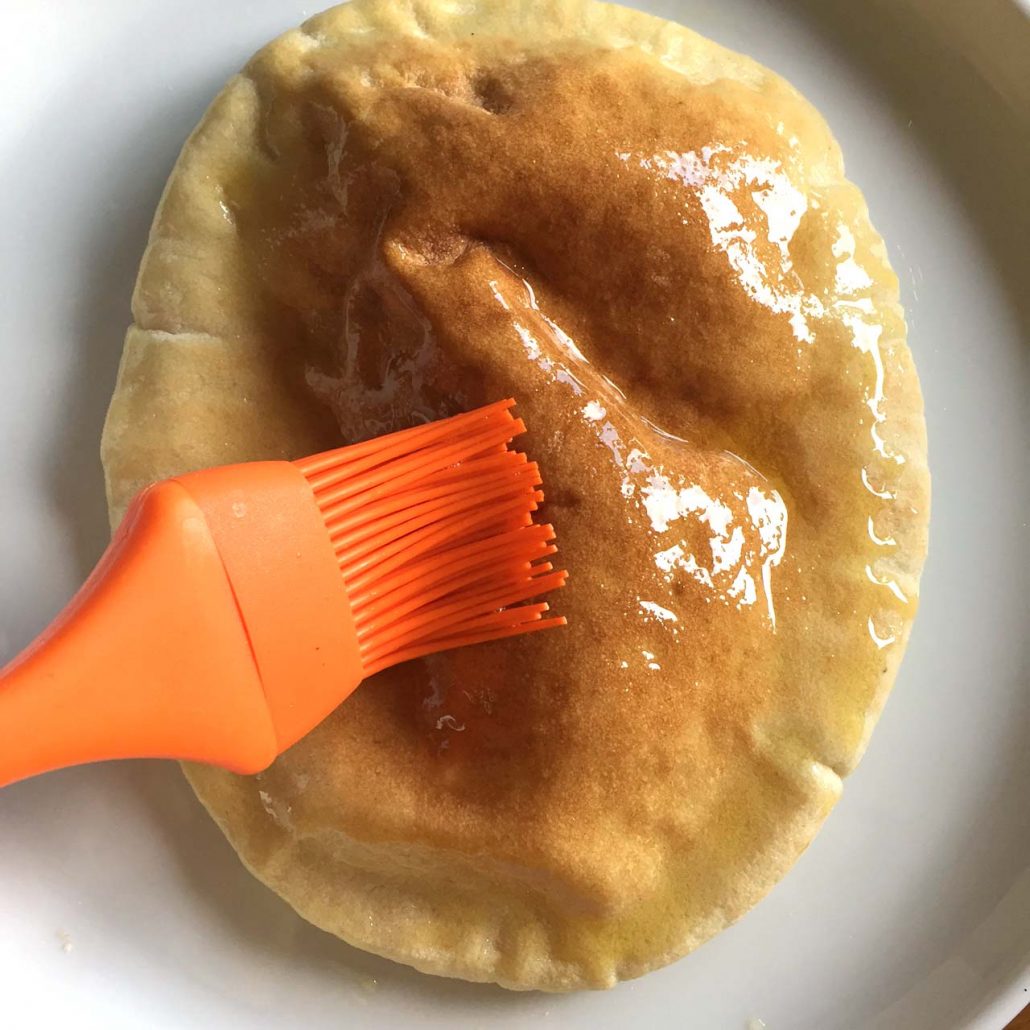
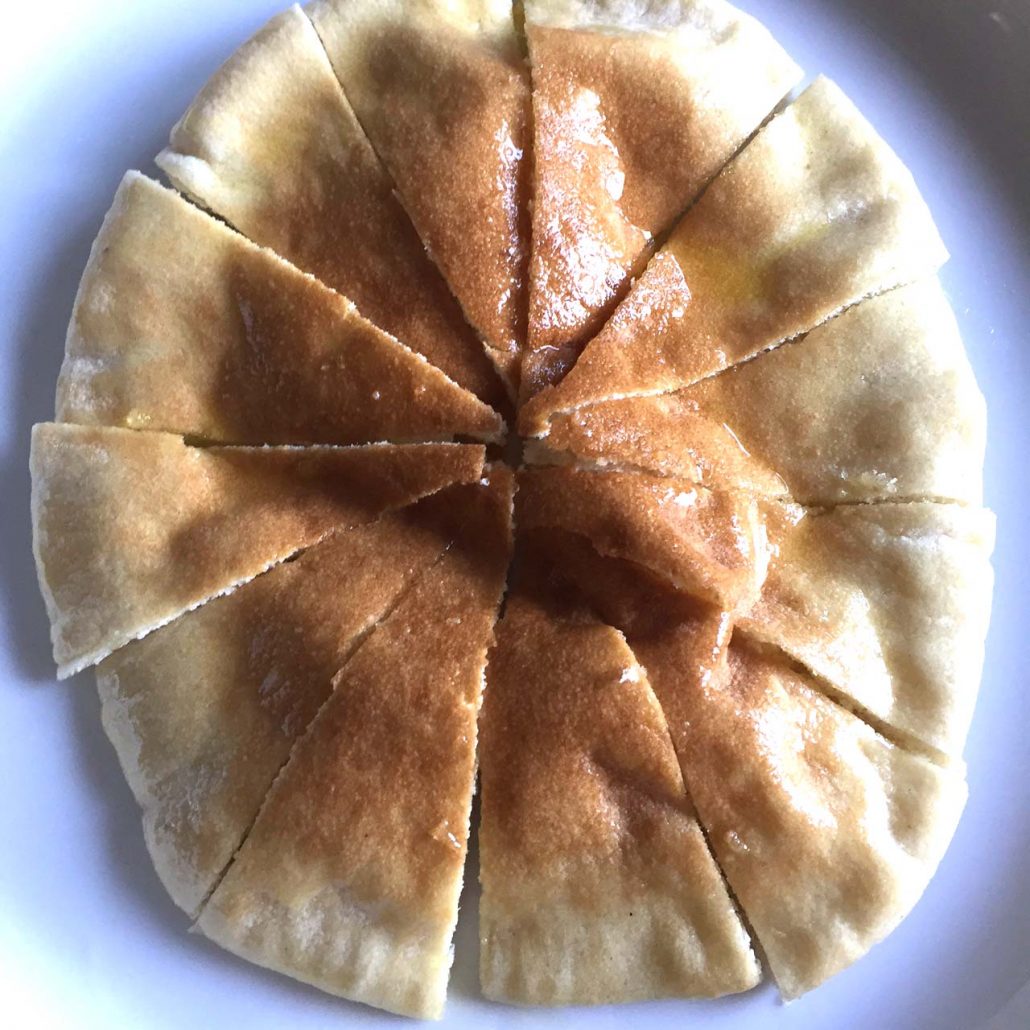
Step 1: Brush Pita With Oil
Using a pastry brush, brush the pita bread with olive oil on both sides. If you are cutting calories, you can omit this step – the pita chips will still be crisp without oil.
Step 2: Cut Pita Into Wedges
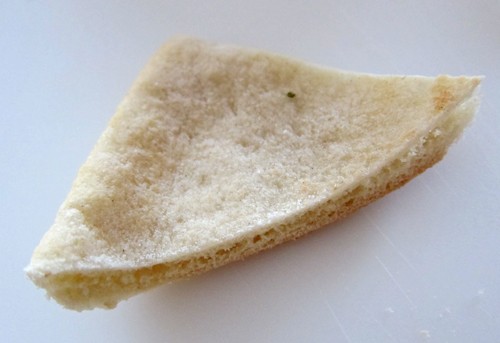
I always use scissors for cutting pita bread – scissors make it super easy! If you like your pita chips thin, you can separate the pita pockets and cut to make them thin (if you do that, cut the baking time in half as they will bake quicker).
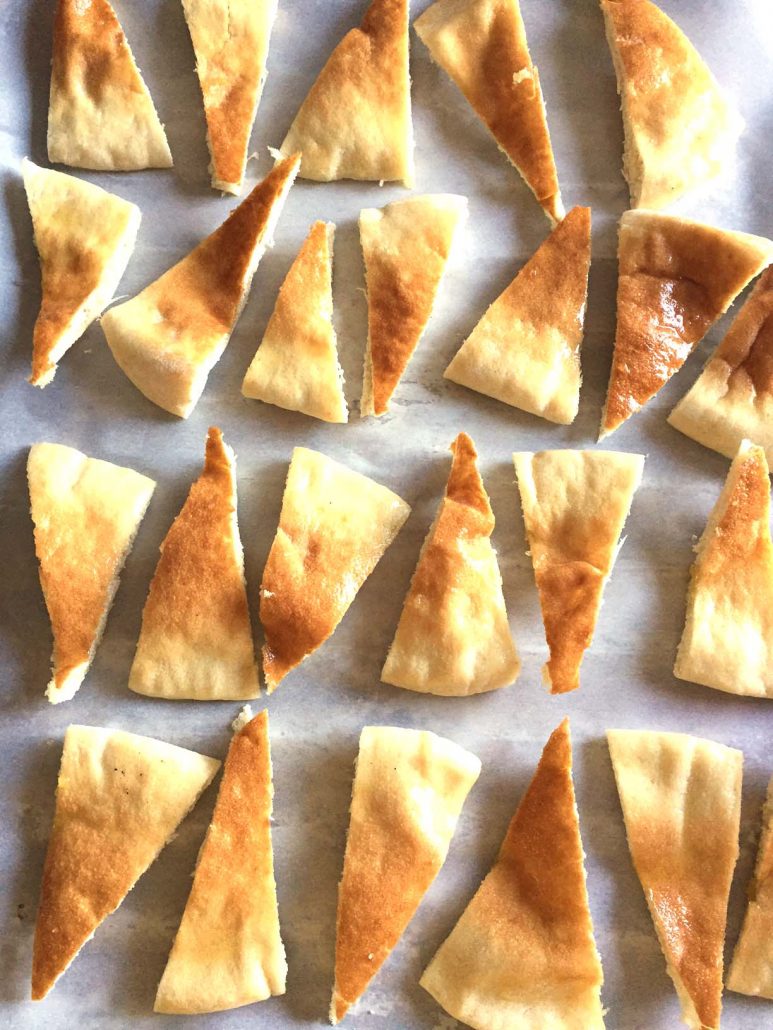
Step 3: Put Pita Chips On Baking Sheet
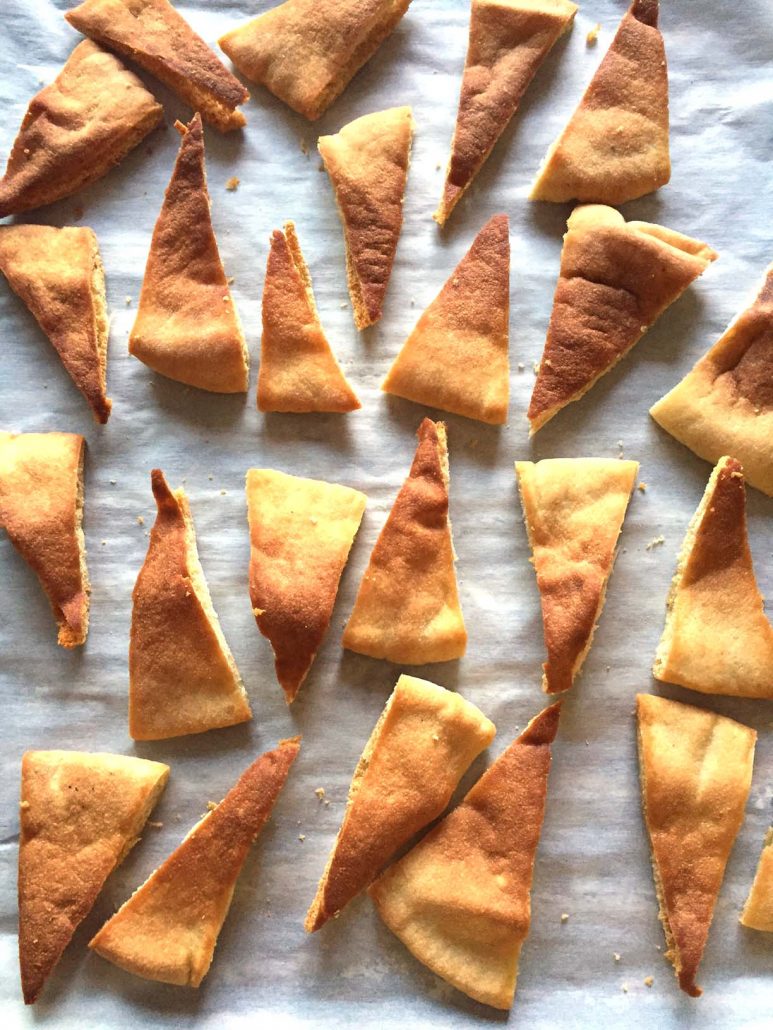
Line the baking sheet with parchment paper and arrange pita chips on it in a single layer. If desired, you can sprinkle them with salt, pepper and spices of your choice at this point – or just bake them plain.
Step 4: Bake Pita Chips
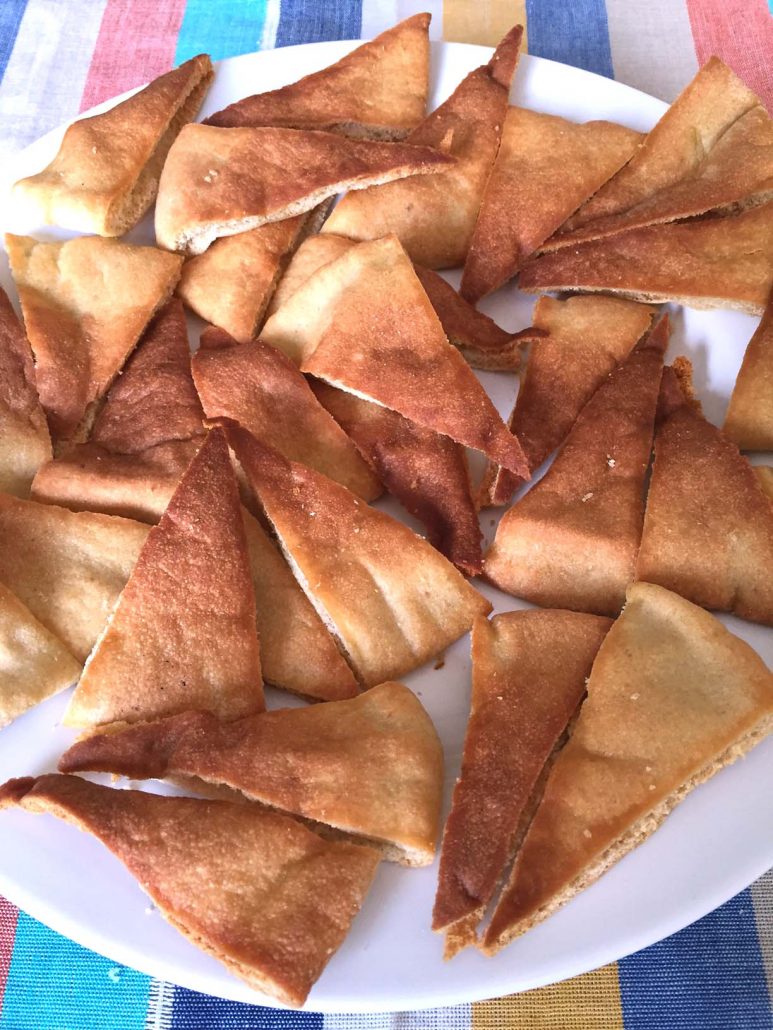
Bake the pita chips in pre-heated 350F oven for 15-20 minutes, or until crispy. Enjoy!
Looking for more things to make with pita? Pita pizza is awesome! Check out grilled pita pizza and baked pita pizza – everyone loves these yummy personal pizzas!
Serving Suggestions
- Serve these crispy pita chips with your favorite dip like hummus, guacamole, or tzatziki for a healthy and satisfying snack.
- Pair them with a fresh salsa or baba ganoush for a flavorful Mediterranean twist.
- Add them to a charcuterie board as a crunchy side to cheeses, cured meats, and olives.
- Break them up and use them as croutons in tuna salads or as a topping for Santa Fe soup.
- For a sweet option, sprinkle the chips with cinnamon and sugar before baking and enjoy them with a papaya fruit salsa or yogurt dip.
Tips For Success
- Cut Evenly for Consistent Results: When cutting the pita into chips, aim for uniform sizes. This ensures that all the chips bake at the same rate. If some chips are much larger or smaller, they may end up over- or under-baked.
- Avoid Overcrowding the Baking Sheet: Spread the pita chips in a single layer on the baking sheet without overlapping. If the chips are too close together, they won’t crisp up evenly. For best results, use two baking sheets if you need more space.
- Keep an Eye on the Oven: Depending on the thickness of your pita bread, the chips can go from perfectly crispy to burnt quickly. Start checking on them at the 15-minute mark to ensure they reach the perfect level of crispiness.
- Season Before Baking: If you’re adding seasonings like salt, pepper, or spices, sprinkle them on after brushing the pita with olive oil. The oil helps the seasoning stick to the chips for an even flavor boost.
- Experiment with Flavors: Don’t be afraid to get creative! Try different seasoning combinations such as garlic and rosemary, cumin and paprika, or cinnamon and sugar for a sweeter version. You can even drizzle a little honey after baking for a sweet and savory treat.
Variations And Substitutions
- Whole Wheat Pita: For a healthier version, opt for whole wheat pita bread instead of white. It adds a nutty flavor and a boost of fiber, making your snack even more nutritious.
- Gluten-Free Pita: If you’re gluten-sensitive or following a gluten-free diet, you can easily substitute with gluten-free pita bread. These will crisp up just like regular pita, making it a great alternative.
- Oil-Free Version: For those looking to cut back on calories or prefer oil-free snacks, simply skip brushing the pita with olive oil. The chips will still bake up crispy, though they may not have the same golden-brown color.
- Sweet Pita Chips: If you’re in the mood for a sweet snack, sprinkle the pita chips with a mixture of cinnamon and sugar before baking. For an extra touch, drizzle honey or maple syrup on top after they come out of the oven for a sweet, crunchy treat.
- Spicy Kick: Add a little heat by sprinkling chili powder, cayenne, or red pepper flakes on your chips. You can mix it with garlic powder for a spicy and garlicky combo that pairs well with hummus or salsa.
- Herbed Pita Chips: Add dried herbs like oregano, rosemary, thyme, or Italian seasoning to your chips for a savory twist. These pair beautifully with Mediterranean-style dips or even a light soup.
- Extra Crispy Option: If you like your pita chips extra crispy, cut the pita pockets in half before slicing them into wedges. This will give you thinner chips that bake faster, but be sure to reduce the baking time by a few minutes to avoid burning.
Storage and Reheating
- Storage: Once your pita chips have cooled completely, store them in an airtight container or a zip-top bag. They will stay fresh and crispy for up to 5 days at room temperature. Be sure to keep them in a dry place to avoid any moisture that could make the chips soggy.
- Freezing: While pita chips are best when fresh, you can freeze them if needed. Place the fully cooled chips in a freezer-safe bag or container and store them for up to 2 months. To re-crisp, pop them back into a 350°F oven for a few minutes.
- Reheating: If your pita chips have lost their crispiness after a few days, you can easily refresh them by placing them in a preheated 350°F oven for 3-5 minutes. This will help restore their crunch without burning them.
Frequently Asked Questions
Can I use whole wheat pita for this recipe?
Yes, whole wheat pita works perfectly for this recipe. It adds a nutty flavor and is a healthier alternative to regular pita. The texture will remain just as crispy, making it an ideal substitute.
What seasonings work best for pita chips?
The great thing about pita chips is their versatility! Popular seasonings include salt, pepper, garlic powder, onion powder, and chili powder for a savory twist. For a sweet option, cinnamon and sugar work wonders. You can mix and match to suit your taste.
Can I make these pita chips without oil?
Yes, you can omit the olive oil for a lower-calorie version. While the chips might not turn out as golden, they will still be crispy. You can also try brushing them with a light coat of water to help any seasonings stick.
How do I make thinner, extra-crispy pita chips?
To make thinner chips, simply separate the pita bread into two layers before cutting it into wedges. These chips will be thinner and crisp up faster, so you’ll want to reduce the baking time by a few minutes to prevent them from burning.
Can I store these chips for later?
Absolutely! Once the chips have cooled completely, store them in an airtight container at room temperature for up to 5 days. To keep them from getting soggy, make sure they are fully cooled before storing.
Other Easy Pita Recipes
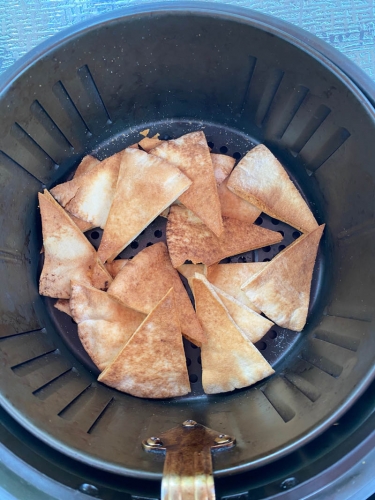
Crispy Air Fryer Pita Chips Recipe: These crunchy air fryer pita chips are the perfect quick snack or dip companion, made in just minutes without the need for oil.
Air Fryer Frozen Spinach Spanakopita Appetizer: Easily cook frozen spinach spanakopita to golden perfection in the air fryer for a quick, crispy appetizer.
Quick Air Fryer Pita Bread Pizza: Whip up a personal pizza in minutes using pita bread and your favorite toppings for a fast, delicious meal straight from the air fryer.
Grilled Pita Pizza with Cheese and Veggies – Easy Recipe: This grilled pita pizza is loaded with cheese and fresh veggies, offering a simple yet flavorful meal in under 20 minutes.
15-Minute Personal Pita Pizza with Cheese: Enjoy a quick and satisfying personal pita pizza topped with melted cheese, ready in just 15 minutes.
Pineapple and Onion Pita Pizzas – Easy Personal Recipe: A sweet and savory twist on personal pita pizzas with juicy pineapple and caramelized onions, perfect for a light, easy meal.
Frozen Spanakopita Triangles with Spinach and Cheese from Costco: Heat up these Costco frozen spanakopita triangles for a convenient, delicious snack filled with creamy spinach and cheese.
Homemade Baked Pita Chips Recipe
Ingredients
- 4 pitas
- 4 tsp olive oil
- Seasonings to taste
Recommended Kitchen Tools (click the links below to see the items used to make this recipe)
- Pastry Brush
- Scissors
- baking sheets
- baking sheets
Instructions
- Preheat the oven to 350F.
- Line 2 baking sheets with parchment paper.
- Brush each pita with olive oil on both sides.
- Using scissors, cut pitas into triangle chip-sized wedges.
- Arrange pita wedges on baking sheets in a single layer, so they are not touching.
- If you'd like, sprinkle pita chips with seasonings of your choice (for example, salt, pepper, cinnamon, garlic powder, onion powder, chili powder).
- Put pita chips in the oven and bake for 15 minutes, or until crispy.
Notes
- For thinner chips, separate the pita bread into halves and reduce the baking time.
- Feel free to customize the seasoning for different flavor variations.
More Baked Recipes
- Baked Grouper Fish Recipe
- Healthy Baked Lemon Sole with Lemon and Herbs
- Easy Crispy Baked Chicken Wings in the Oven




Looks like I’ll need to make another batch tonight to share with the family. ☺️
I recently started making my snacks to avoid the preservatives in store bought ones. I made these pita chips with some leftover pita bread from the weekend and added a sprinkle of cinnamon sugar for a sweet twist. They were so delicious that I couldn’t believe how simple they were to make.