Homemade Chocolate Truffles Recipe
This post may contain affiliate links (disclosure).
Looking for a decadent treat that’s surprisingly easy to make? These homemade chocolate truffles are rich, smooth, and melt in your mouth with every bite. Made with just two ingredients, this simple recipe lets you create gourmet-quality truffles right in your own kitchen. Whether for a special occasion or just to satisfy a chocolate craving, these truffles are guaranteed to impress!
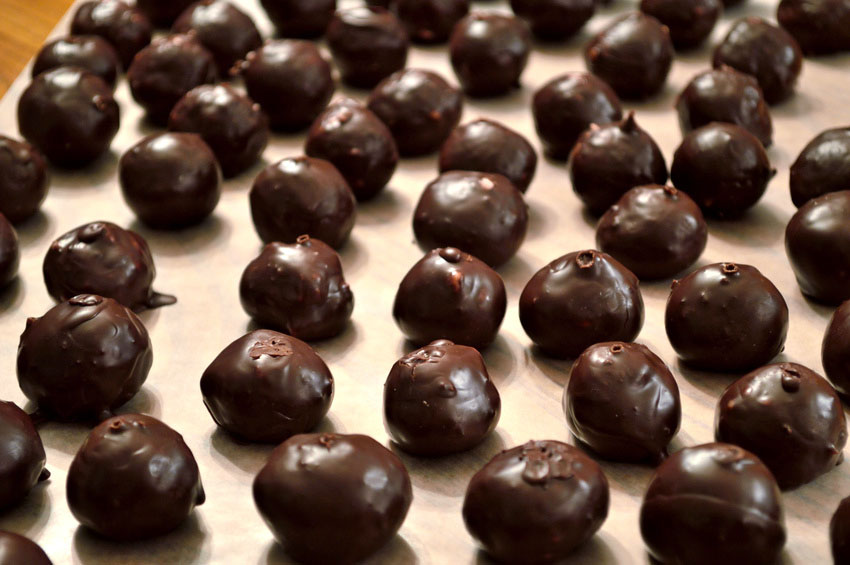
I don’t know anybody who doesn’t love chocolate truffles. Chocolate truffles are the richest, most intense chocolate candies ever! Chocolate truffles just melt in your mouth, leaving your mouth with a lingering smooth chocolate taste all over.
Why You’ll Love Homemade Chocolate Truffles
- These truffles are incredibly easy to make, requiring only two basic ingredients: chocolate and heavy cream. Despite their simplicity, they deliver an indulgent, rich chocolate flavor that rivals anything you’d buy from a store.
- The creamy, melt-in-your-mouth texture of these truffles is irresistible. Each bite gives you a smooth, luxurious experience that’s perfect for chocolate lovers.
- You can customize these truffles with your favorite add-ins like coffee liquor or chopped nuts, allowing you to get creative and make them your own. This flexibility makes them ideal for special occasions or personalized gifts.
- This recipe requires no baking, so it’s perfect for anyone looking for a quick and fuss-free dessert. You simply melt, chill, and roll the truffles—no complicated steps involved.
- These homemade chocolate truffles store beautifully in the refrigerator, making them a convenient make-ahead dessert. You can whip them up in advance and have a batch ready to impress guests whenever you need.
Did you know that you can make chocolate truffles yourself at home very easily? Homemade chocolate truffles recipe only uses two ingredients – chocolate and heavy cream! All you need to do to make chocolate truffles is to melt the chocolate and cream together, then cool down the mixture in the freezer and roll the truffle balls with your hands. Would you ever think how easy it is?
Ingredients For Homemade Chocolate Truffles
- Dark Chocolate (16 oz): The main ingredient that gives these truffles their rich, intense flavor. Use high-quality chocolate for the best results.
- Heavy Cream (1 cup): This adds a creamy texture, allowing the chocolate to melt smoothly and giving the truffles their melt-in-your-mouth consistency.
- Coffee Liquor (1 tbsp, optional): Adds a hint of coffee flavor that pairs beautifully with the chocolate, enhancing its depth.
- Chopped Nuts (2 tbsp, optional): For a bit of crunch and texture, you can add chopped nuts like hazelnuts, almonds, or walnuts.
Kitchen Tools You Need To Make Homemade Chocolate Truffles
- Measuring Cups: For accurately measuring the chocolate and cream.
- Saucepan: To gently heat the heavy cream to the perfect temperature without boiling.
- Mixing Spoon: Essential for stirring the chocolate into the cream until it’s completely smooth.
- Refrigerator: To chill the truffle mixture and ensure it’s firm enough to roll into balls.
- Parchment Paper: Keeps the truffles from sticking to the baking sheet during the freezing process.
- Baking Sheet: A flat surface for placing the truffles in the freezer to set properly.
Now you know the secret of how to make chocolate truffles and the fact that it’s super easy 2-ingredient recipe, but 99.9% of other people don’t know that :) That means that when you make chocolate truffles using this easy recipe, everyone will be so impressed and this that you are a star chef!
How To Make Homemade Chocolate Truffles
- Start by breaking the dark chocolate into small pieces and setting them aside.
- Heat the heavy cream in a saucepan, making sure it doesn’t boil. As soon as it starts to simmer, take it off the heat.
- Stir the chocolate pieces into the hot cream until they melt completely and the mixture is smooth.
- If you’re adding coffee liquor or nuts, stir them in at this point.
- Let the chocolate mixture cool down, then place it in the refrigerator for about 2 hours until it firms up.
- Once the mixture is firm enough to handle, use a spoon to scoop out portions and roll them into balls with your hands.
- Line a baking sheet with parchment paper and place the rolled truffles on the sheet.
- Freeze the truffles for 30 minutes, then enjoy!
- Store any leftovers in the refrigerator to keep them fresh.
Serving Suggestions
- Serve the truffles on a decorative platter lined with parchment paper for a simple yet elegant presentation.
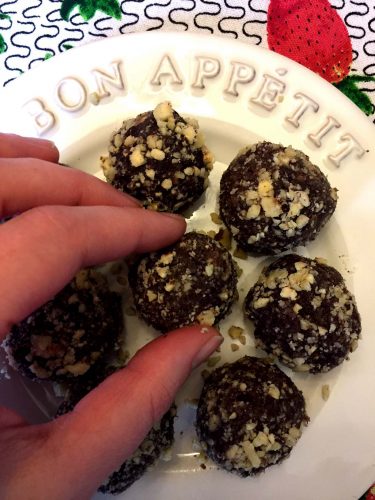
- Dust the truffles with cocoa powder, powdered sugar, or roll them in crushed nuts for an extra layer of flavor and texture.
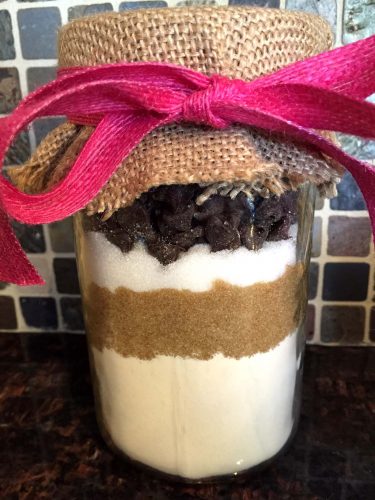
- These truffles make a beautiful gift! Place them in a decorative box or jar and tie with a ribbon for a personal, homemade touch.
- Pair with a glass of sangria wine or a hot cup of coffee to complement the rich chocolate flavor.
- For special occasions, serve these truffles alongside fresh berries or whipped cream for an added touch of luxury.
Tips For Success
- Choose High-Quality Chocolate: The flavor of your truffles will depend on the chocolate you use. Opt for a good-quality dark chocolate with at least 60% cocoa content for the richest taste. Avoid chocolate chips, as they contain stabilizers that can affect the texture of your truffles.
- Heat the Cream Gently: When heating the cream, be careful not to let it boil. Boiling cream can change the texture and flavor of your truffles. Heat it just until it starts to simmer and remove it from the heat immediately to avoid scalding.
- Let the Mixture Chill Properly: After mixing the chocolate and cream, give the mixture enough time to cool and set in the refrigerator. If it’s too soft to roll, let it chill longer. Don’t rush this step, as it’s crucial for achieving the perfect consistency.
- Use Cold Hands When Rolling: Rolling truffles with warm hands can make the chocolate melt too quickly. To prevent this, wash your hands with cold water and dry them before handling the mixture. Alternatively, you can wear disposable gloves to help keep the truffles in shape.
- Customize the Flavors: While the basic recipe calls for just chocolate and cream, feel free to get creative with add-ins like coffee liquor, vanilla extract, or spices like cinnamon or chili powder. You can also experiment with coatings such as cocoa powder, powdered sugar, or chopped nuts for different textures and flavors.
- Freeze Before Serving: Freezing the truffles for 30 minutes helps them set and gives them a firmer texture. This makes them easier to handle and serve, especially if you plan to gift them or present them at a party.
Variations and Substitutions
- Milk Chocolate Truffles: If you prefer a sweeter taste, you can substitute dark chocolate with milk chocolate. The process remains the same, but the resulting truffles will be creamier and less intense in flavor. This variation is perfect if you’re making these truffles for kids or those who prefer a milder chocolate taste.
- Vegan Chocolate Truffles: To make this recipe vegan-friendly, substitute the heavy cream with coconut cream or another plant-based cream. The coconut cream will add a subtle tropical flavor, pairing beautifully with the chocolate. Be sure to choose dairy-free dark chocolate to keep the recipe entirely vegan.
- Flavored Liqueurs: For an adult twist, you can experiment with different flavored liqueurs like Grand Marnier for an orange hint, Baileys for a creamy touch, or Frangelico for a nutty flavor. Simply add about 1 tablespoon of your favorite liqueur into the melted chocolate mixture for a delicious, unique flavor.
- Different Coatings: You can roll the finished truffles in various coatings to add texture and visual appeal. Some great options include unsweetened cocoa powder for a traditional look, powdered sugar for a sweet touch, or finely chopped nuts for a crunchy contrast. You can also dip them in melted chocolate for a double-chocolate coating.
- Add-Ins for Texture: If you like a bit of crunch in your truffles, stir in chopped nuts like hazelnuts, almonds, or pecans into the chocolate mixture before chilling. You could also add finely crushed cookies or toffee bits for extra flavor and texture.
- Spice It Up: For a unique flavor profile, add a pinch of cayenne pepper or cinnamon to the chocolate mixture. The heat from the cayenne gives the truffles a spicy kick, while cinnamon adds warmth and complements the richness of the chocolate.
Storage and Reheating
- Storage: Once your truffles are made, they can be stored in an airtight container in the refrigerator for up to two weeks. Make sure to separate layers of truffles with parchment paper to prevent them from sticking to each other. Keeping them refrigerated will help maintain their firm texture and rich flavor.
- Freezing: For longer storage, you can freeze the truffles. Place them on a baking sheet lined with parchment paper and freeze them individually first. Once they’re frozen solid, transfer them to an airtight container or freezer bag. Truffles can be frozen for up to three months. To enjoy, let them thaw in the refrigerator overnight before serving.
- Reheating (if necessary): While reheating is generally not needed for truffles, if you prefer them softer, let them sit at room temperature for 10–15 minutes before serving. This will make them slightly softer and creamier.
Frequently Asked Questions
Can I use milk chocolate instead of dark chocolate?
Yes, you can substitute milk chocolate for dark chocolate in this recipe. However, keep in mind that milk chocolate is sweeter and creamier than dark chocolate, so the truffles will have a less intense chocolate flavor. This variation is perfect if you prefer a sweeter treat or are making them for kids.
How long do homemade chocolate truffles last?
Homemade chocolate truffles can last up to two weeks when stored in an airtight container in the refrigerator. For longer storage, you can freeze them for up to three months. Just be sure to let them thaw in the refrigerator before serving.
Can I make these truffles without cream?
The cream is essential for creating the smooth, melt-in-your-mouth texture of the truffles. However, if you’re looking for a dairy-free or vegan option, you can substitute the heavy cream with coconut cream or another plant-based cream. This will still give you a creamy texture, but with a slightly different flavor.
What’s the best way to melt the chocolate?
For this recipe, the chocolate melts by stirring it into hot cream. Be sure to heat the cream gently, just until it starts to simmer, then remove it from the heat before adding the chocolate. Stir continuously until the chocolate is completely melted and smooth. Avoid using high heat, as this can cause the chocolate to seize or burn.
Can I add flavors or fillings to my truffles?
Absolutely! You can add liqueurs like Baileys or Grand Marnier for extra flavor, or stir in chopped nuts, crushed cookies, or spices for texture. You can also roll the finished truffles in cocoa powder, powdered sugar, or chopped nuts to customize them even further.
Other Easy Truffles Recipes
Healthy Hazelnut Chocolate Energy Bites: These delicious hazelnut chocolate energy bites are a healthy, no-bake snack packed with natural sweetness and nutrients.
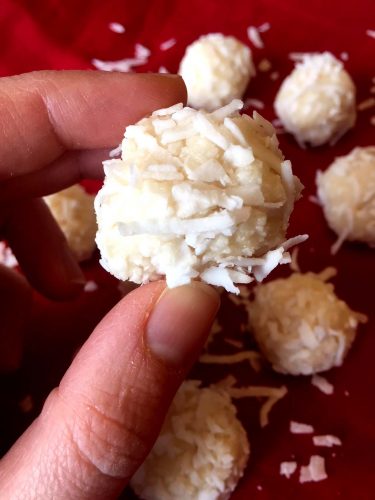
No-Bake Coconut Truffle Balls – Easy and Healthy Recipe: These no-bake coconut truffle balls are a quick, healthy, and satisfying treat made with simple, wholesome ingredients.
Easy No-Bake Oreo Truffle Balls Recipe: This easy no-bake Oreo truffle balls recipe creates rich, creamy chocolate treats that require minimal effort and deliver maximum indulgence.
Sugar-Free Coconut Date Truffles – Raw, Vegan, and Gluten-Free Energy Bites: These sugar-free coconut date truffles are a raw, vegan, and gluten-free energy bite perfect for a quick, healthy snack.
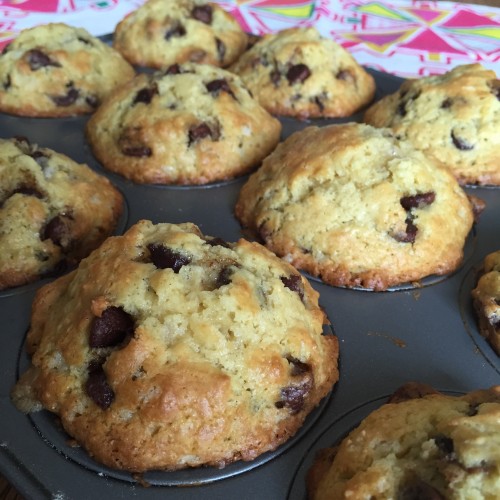
No-Bake Chocolate Chip Cookie Dough Truffle Bites: These no-bake chocolate chip cookie dough truffle bites are a sweet and indulgent treat made with edible cookie dough and coated in chocolate.
Easy Homemade Dark Chocolate Truffles Recipe: This easy homemade dark chocolate truffles recipe delivers rich, melt-in-your-mouth chocolates perfect for any occasion.
Decadent Chocolate Truffle Cake Paired With Coffee for Breakfast: This decadent chocolate truffle cake is the ultimate indulgence, especially when enjoyed with a cup of coffee for breakfast.
Homemade Chocolate Truffles Recipe
Ingredients
- 16 oz dark chocolate
- 1 cup heavy cream
- 1 tbsp coffee liquor optional
- 2 tbsp chopped nuts optional
Recommended Kitchen Tools (click the links below to see the items used to make this recipe)
- Saucepan
- Mixing spoon
- Refrigerator
Instructions
- Break up chocolate into small pieces.
- Heat the cream just to the point of simmering. Watch it the whole time, since boiling cream can overflow the pot! Remove from heat right away once it starts to simmer.
- Stir in the chocolate and liquor (if using), and keep stirring until the chocolate has melted completely. If using chopped nuts, stir them in now.
- Let the mixture cool, then put in the refrigerator.
- Check the consistency of the truffle mixture after 2 hours in the refrigerator. You should be able to roll balls from it. If it’s too soft (impossible to roll balls), put it back in the refrigerator and check again after 30 minutes.
- Line the baking sheet with parchment paper. Once the truffle mixture is the right consistency, use a spoon to put some of it on your hands, roll into balls and put the balls on the parchment paper.
- Put the baking sheet with homemade chocolate truffles in the freezer for 30 minutes. After you remove them from the freezer, put on a plate and enjoy! Store the homemade chocolate truffles in the refrigerator.
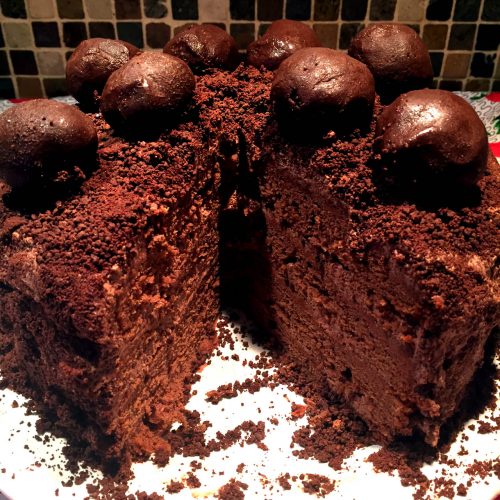
If you like truffles, you will love the chocolate truffle cake! It’s so gorgeous and so yummy! The chocolate truffle cake has layers of chocolate cake with chocolate cream, chocolate crumb sprinkles and homemade chocolate truffles on top. Check out my recipe how to make a chocolate truffle cake.


LOVE Truffles!!
Homemade chocolate truffles are so easy and delicious!
these chocolate truffles are the perfect blend of rich chocolate and smooth cream.