Skyline Chili Dip
This post may contain affiliate links (disclosure).
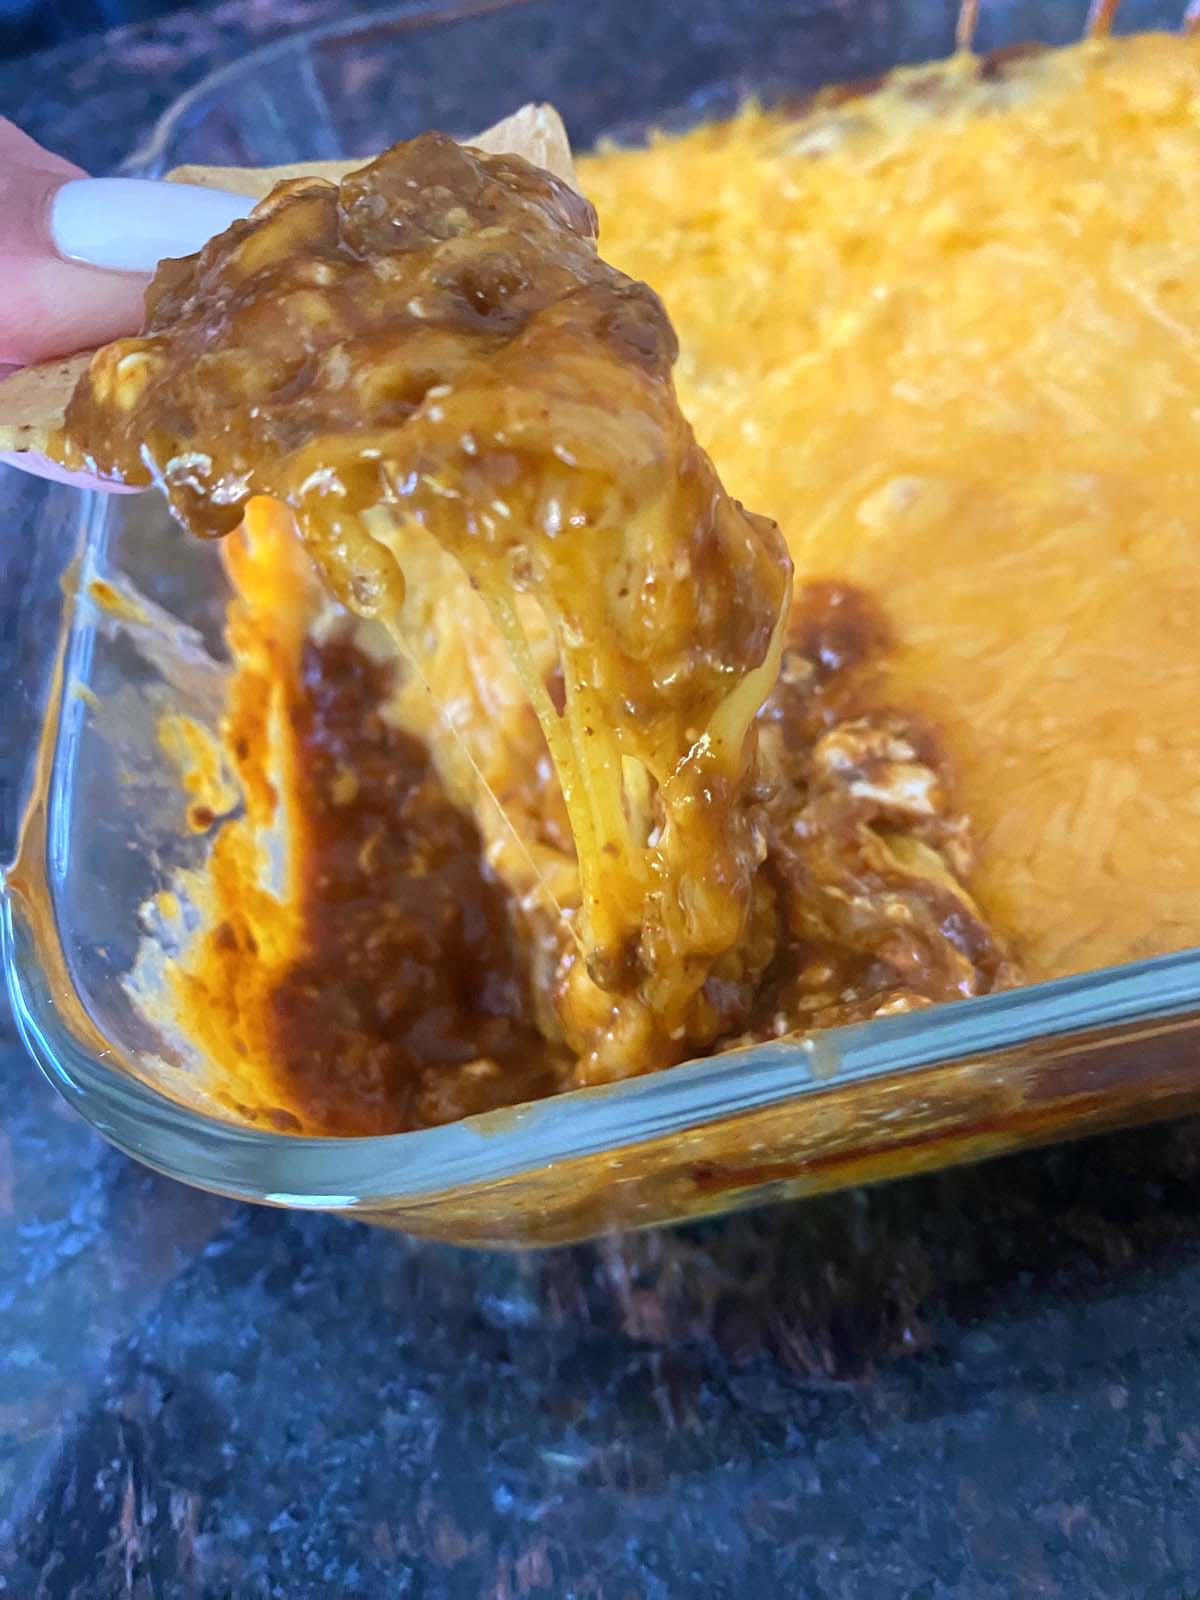
This Skyline Chili Dip is just the 3-ingredient wonder you’ve been looking for! With the lusciousness of cream cheese, the gooey goodness of cheddar, and the hearty deliciousness of chili, this dip is about to become your new favorite quick and easy appetizer.
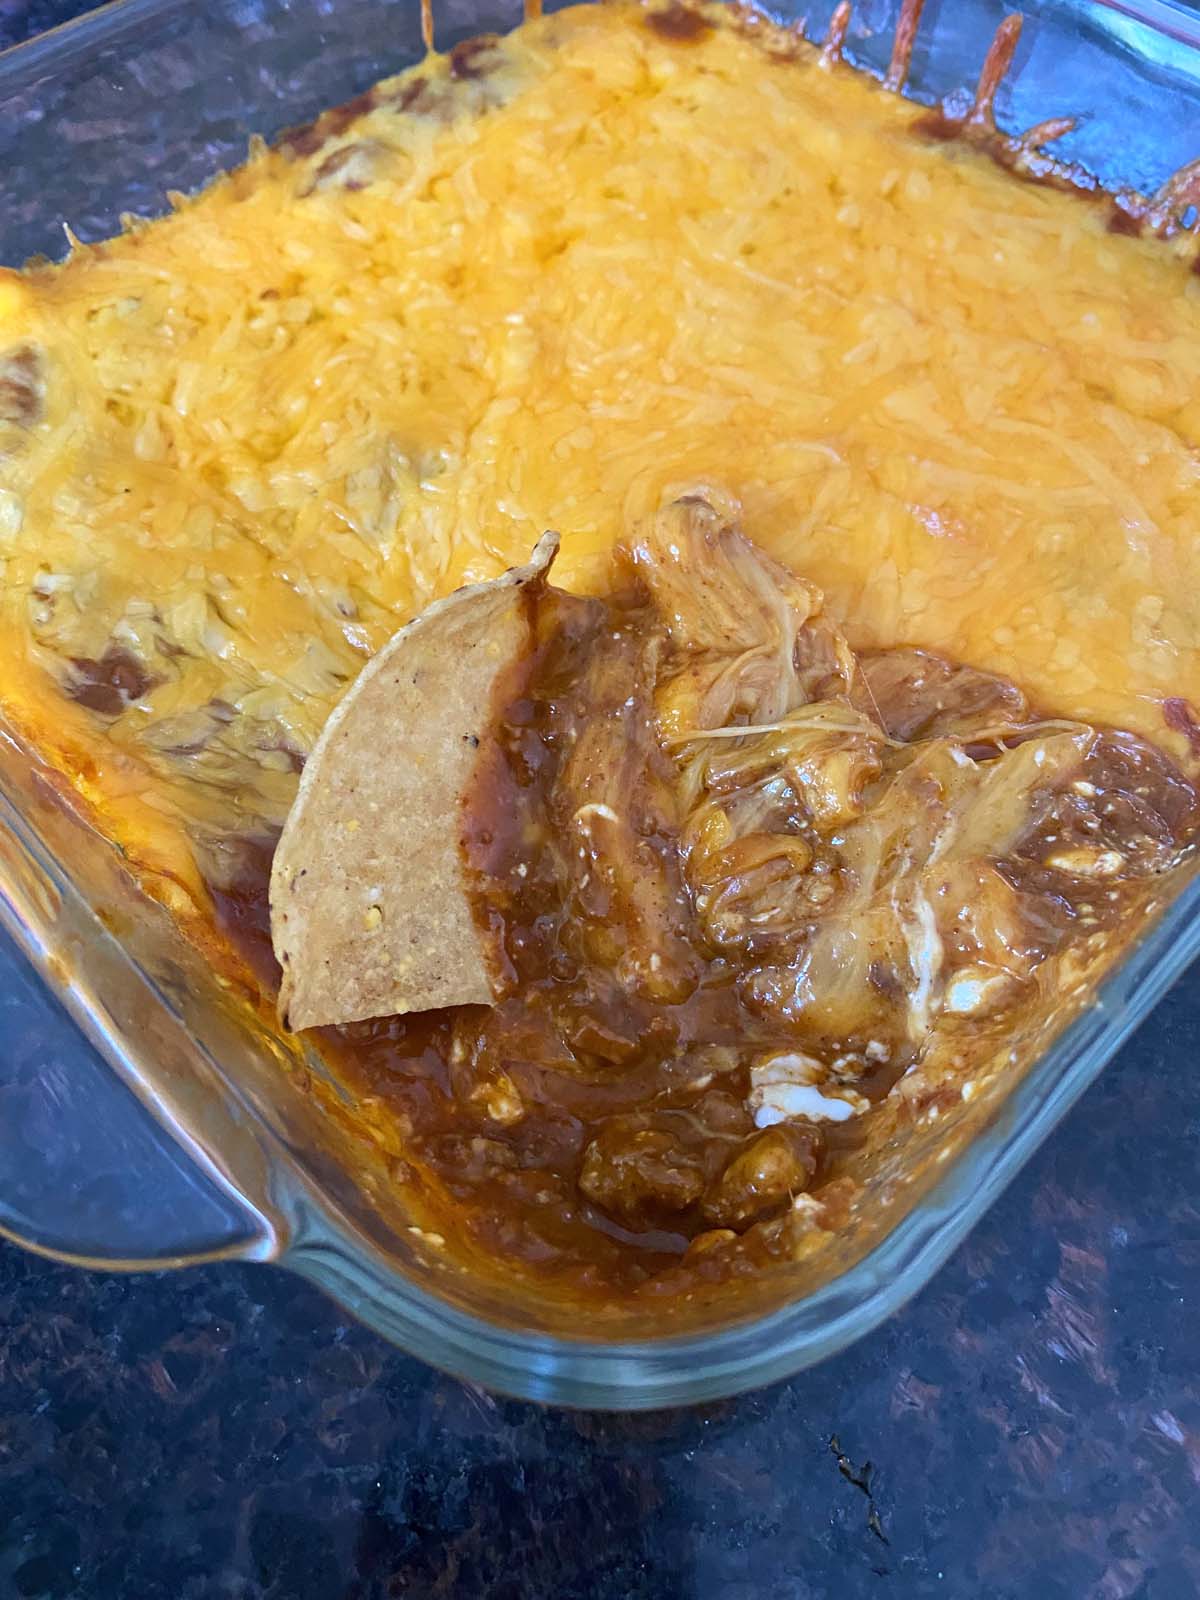
Skyline Chili Dip Recipe
This recipe is the fusion of two popular classics: savory Cincinnati style chili and warm, creamy cheese dip! By combining the best of both, this Skyline chili dip has layers of incredible flavor and texture. It’s a total comfort food that’s perfect for sharing with family and friends at game day gatherings, holidays, and potlucks.
But the best part? It’s incredibly easy to make and only requires 3 ingredients. A simple can of no-bean chili, a block of cream cheese, and cheddar! This Skyline chili dip proves that greatness doesn’t always demand hours in the kitchen and complex cooking methods. You can even prep it ahead of time and just pop it in the oven about 20 minutes before you’re ready to serve!
Love chili!?! Me too! Check out my Instant Pot Keto Chili or my Crockpot Beef Chili.
How To Make Skyline Chili Dip
This simple appetizer only requires 3 easy to find ingredients and under 30 minutes of your time!
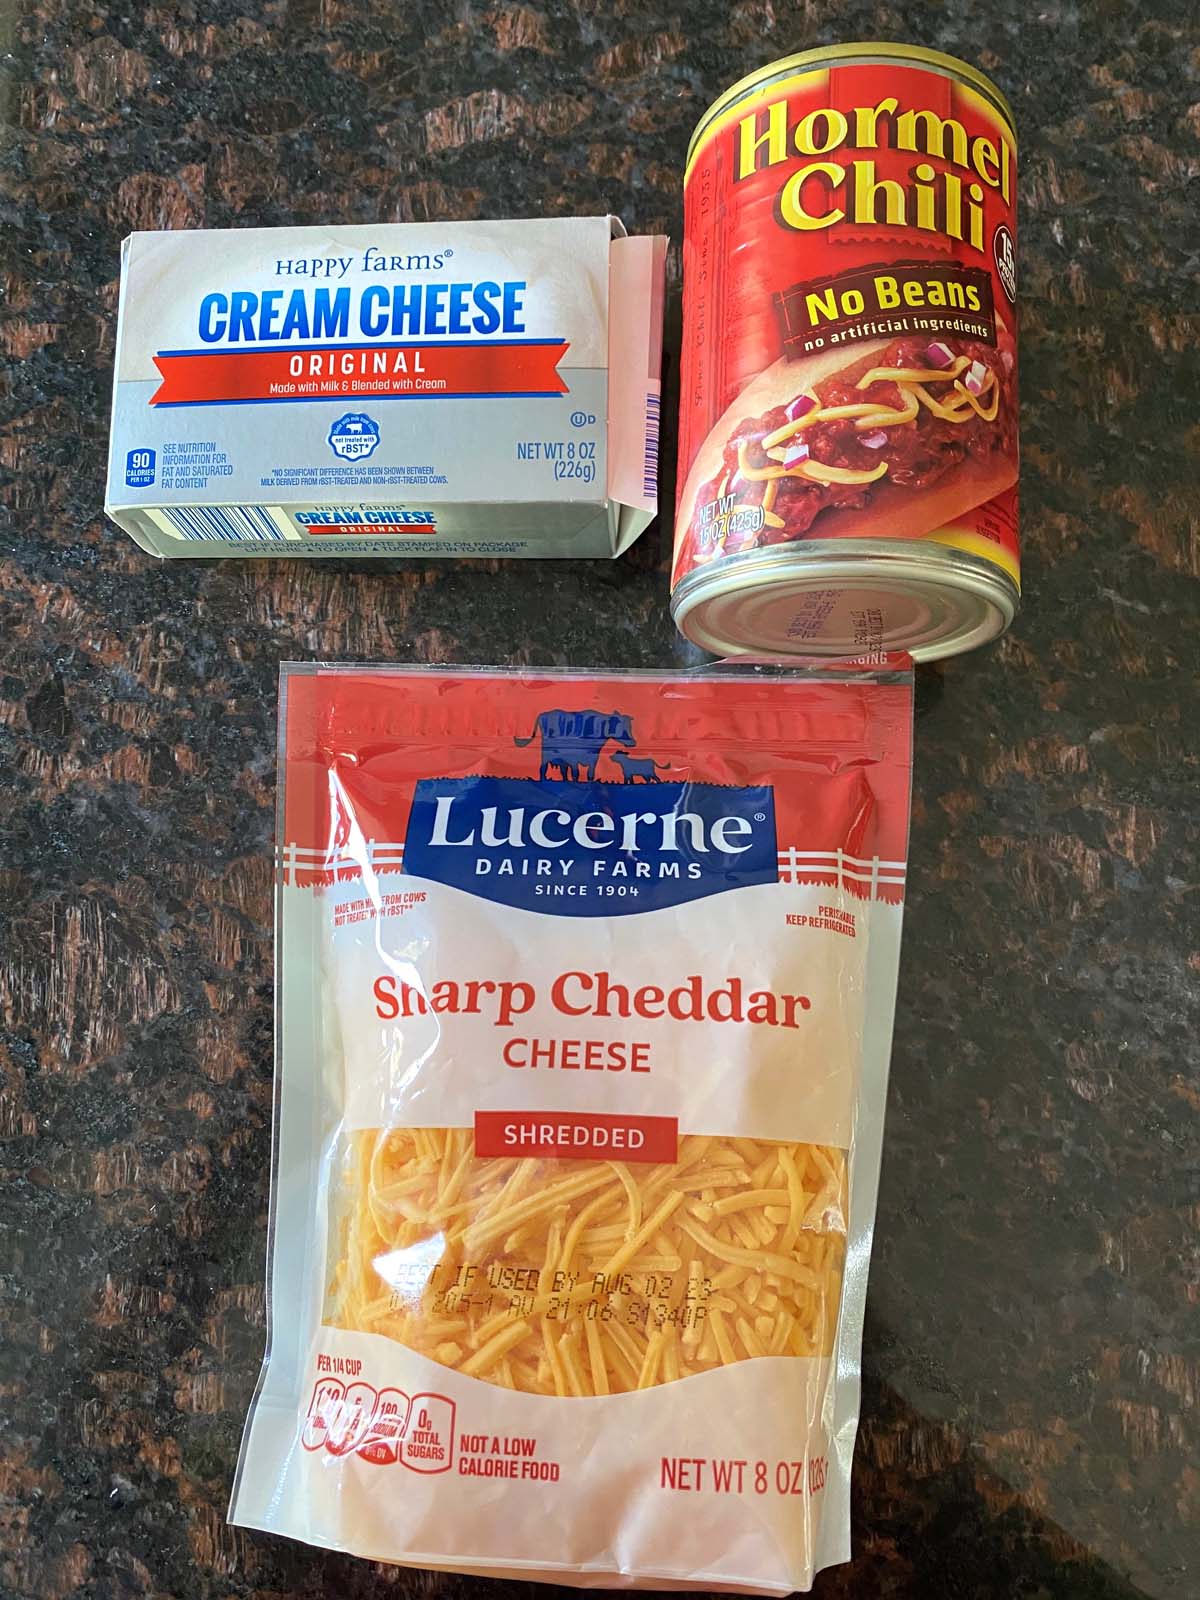
- Canned Chili: You’ll need a can of no-bean chili. For the most authentic flavor use Cincinnati-style Skyline chili if you can find it. You can also use vegetarian chili if you prefer.
- Cream Cheese: Gives the Skyline dip its creamy texture. Any brand will work.
- Shredded Cheddar Cheese: Provides the chili dip with a layer of melty cheese.
The first step is to preheat your oven to 350°F. You want the oven to be hot when the dip goes in to bake.
Next, take the room temperature cream cheese and spread it evenly across the bottom of an 8×8-inch baking dish. Then add the canned chili and spread it evenly over the layer of cream cheese. Finally, sprinkle the shredded cheddar evenly over the chili to finish assembling the dip.
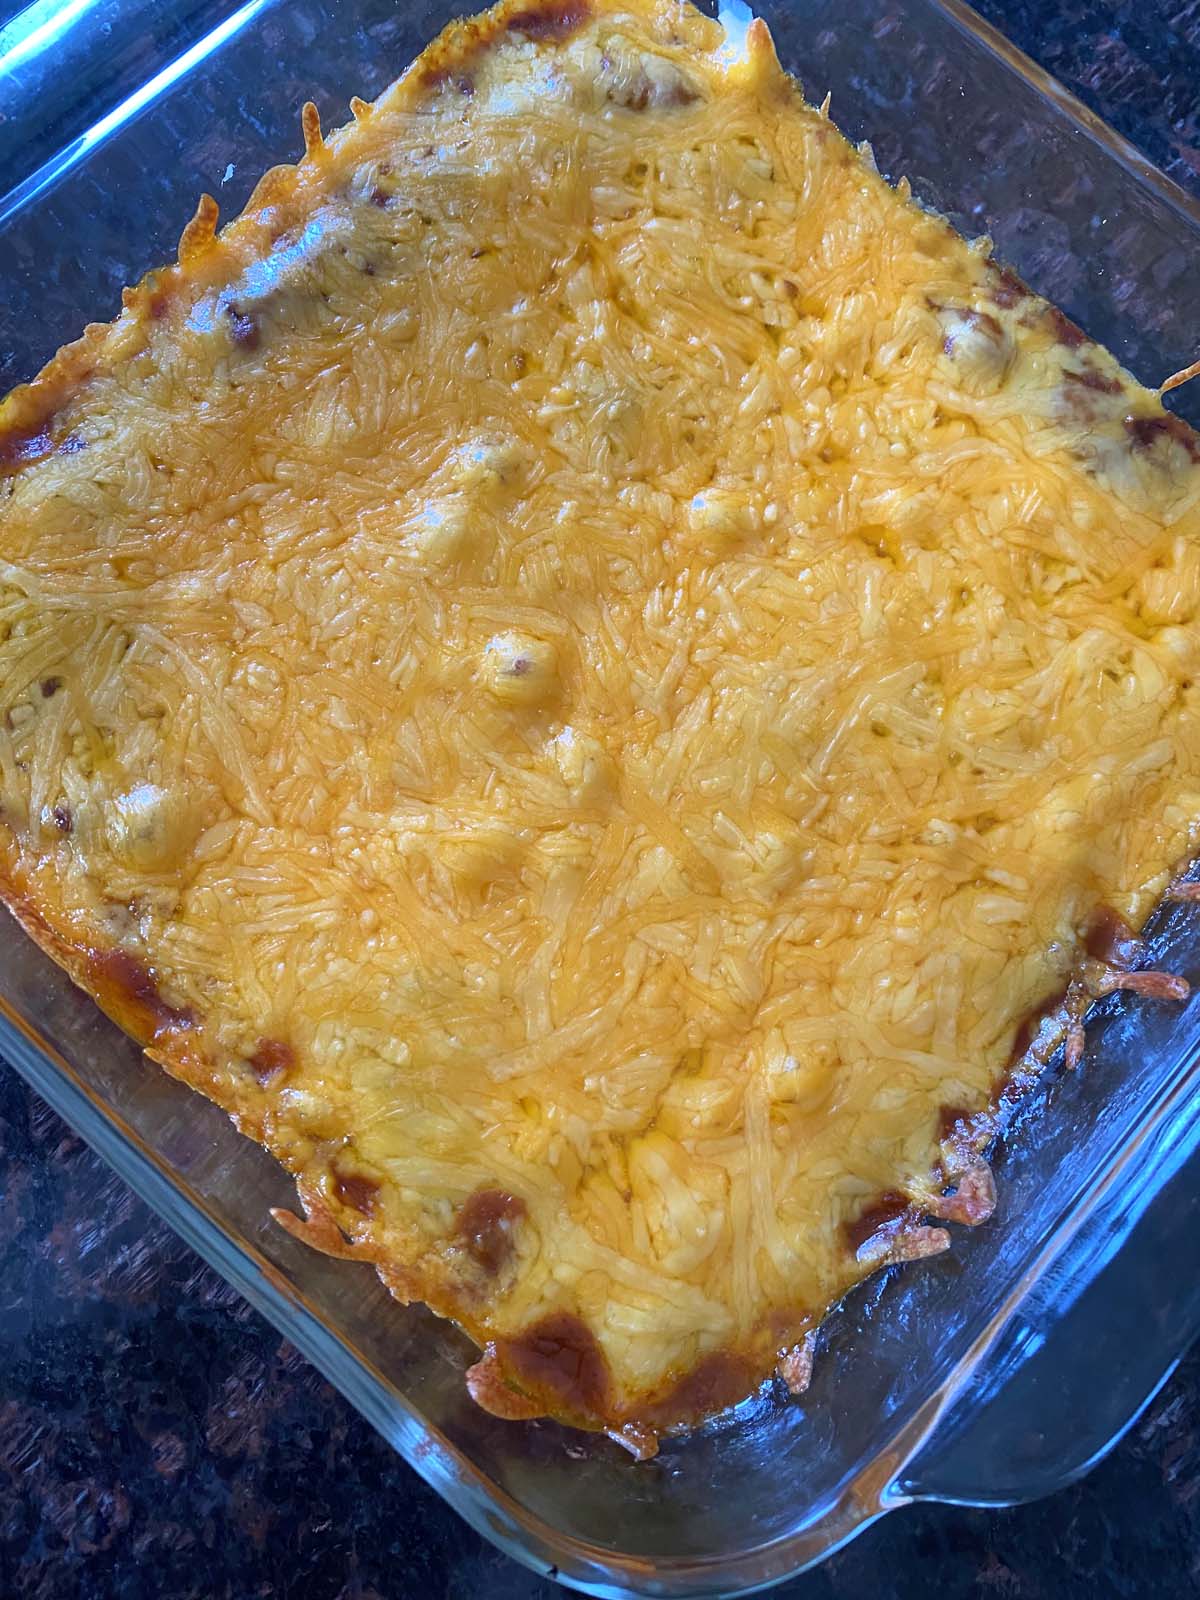
Now, transfer the dip to the oven and let it bake for 20 minutes. When it’s ready, the cheese will be completely melted and it will be bubbly.
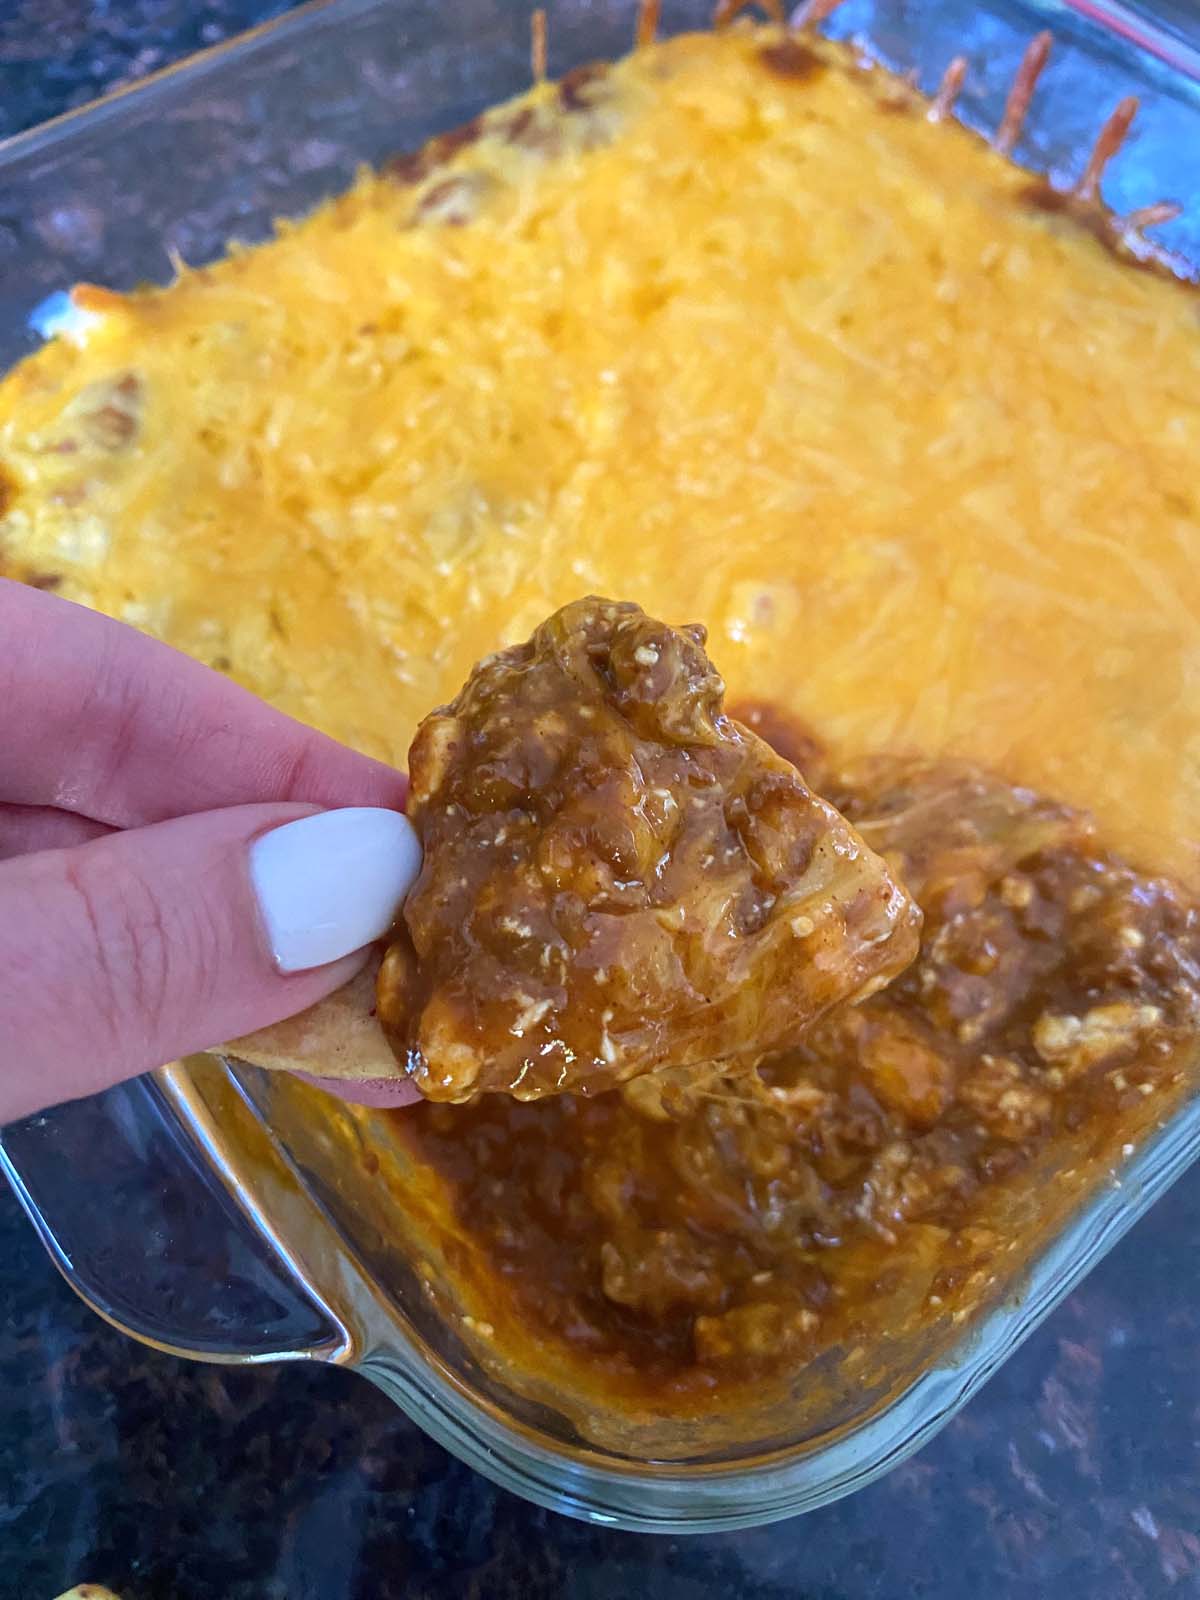
Then remove your Skyline chili dip from the oven and serve it warm with some tortilla chips!
How To Store
You can keep any leftover Skyline chili dip in the fridge for up to 5 days in an airtight container. It’s also possible to freeze it for up to 2 months and then reheat it once it’s thawed out.

What To Serve With Skyline Chili Dip
This dip is ideal with simple Air Fried Tortilla Chips! But it’s also yummy with Air Fried Pita Chips and Baked Plantain Chips. You can also use it to fill Homemade Flour Tortillas.
And if you’re looking for dishes to pair it with, some of my favorites are Baked Tacos, Guacamole, and Instant Pot Tamales.
More Easy Appetizer Recipes
If you enjoyed this cheesy Skyline chili dip recipe then you should check out some of my other quick and easy appetizer recipes. I’ve got a big selection to choose from for any occasion.
- Mexican Style Shrimp Cocktail
- Cheddar Bacon Dip
- Easy Jalapeno Poppers
- Air Fried Crab Ragoon
- Easy Sausage Balls
Skyline Chili Dip
Recipe Video
Ingredients
- 15 ounces chili with no beans (1 can)
- 8 ounces cream cheese (room temperature)
- 8 ounces shredded cheddar cheese
Instructions
- Preheat your oven to 350℉.
- Spread the room temperature cream cheese on the bottom of an 8x8-inch baking dish with the back of a spoon.
- Add the chili and spread it out on top of the cream cheese.
- Sprinkle all the shredded cheddar evenly on top of the chili.
- Transfer the baking dish to the oven and bake the dip for 20 minutes. When it's ready the cheese should be fully melted and the dip is bubbly.
- Remove the dip from the oven and serve it right away with tortilla chips and enjoy!
Nutrition
See also:









Always a hit!
The cheese melts beautifully, and the chili adds a nice depth of flavor. Great for any gathering!